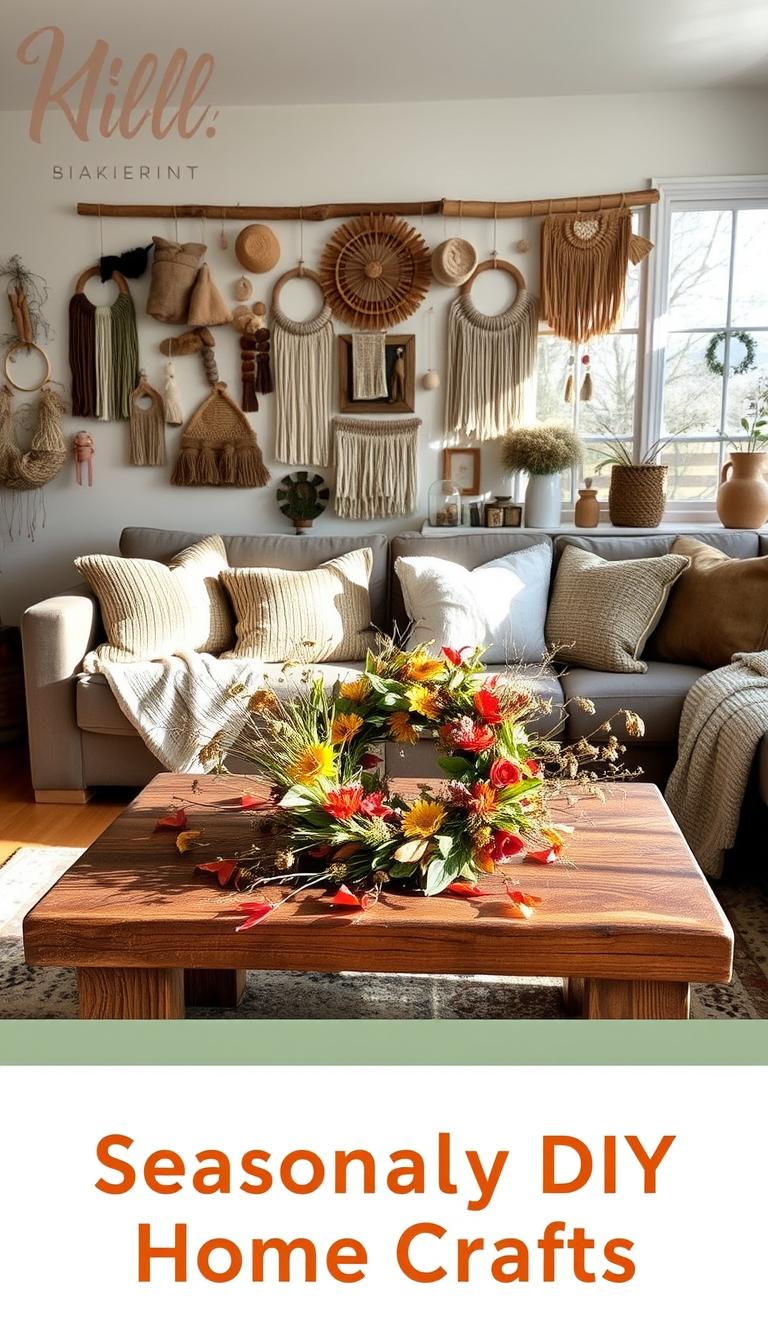
Giving old items a new life is not only eco-friendly but also a great way to add a personal touch to your DIY home decor. With a little creativity, you can transform discarded materials into unique pieces that reflect your style.
Creative upcycling projects can range from turning old jars into beautiful vases to creating wall art from reclaimed wood. The possibilities are endless, and the process can be fun and rewarding.
Key Takeaways
- Upcycling old items reduces waste and supports sustainability.
- DIY home decor crafts can be a fun and creative outlet.
- Transforming old materials into new decor pieces adds a personal touch to your space.
- Creative upcycling projects can be simple and rewarding.
- Repurposing old items can help you develop your creative skills.
Mason Jar Lanterns

Upcycle old mason jars into beautiful lanterns that illuminate your home with a warm glow. Mason jar lanterns are a perfect DIY home decor craft that can add a touch of warmth and coziness to any room. This project is not only wallet-friendly but also a great way to reuse and recycle old mason jars, fitting perfectly with the theme of recycled craft projects.
Shopping List
To get started, you’ll need the following materials:
- Mason jars
- Candle or LED light
- Decorative twine or ribbon
- Glue
- Scissors
These materials are readily available, and you might already have some of them at home, making it a great thrifted home decor idea.
Instructions
Follow these simple steps to create your mason jar lantern:
- Clean the mason jar thoroughly and dry it.
- Wrap the decorative twine or ribbon around the neck of the jar.
- Secure the twine or ribbon with glue.
- Place the candle or LED light inside the jar.
This DIY project is easy to complete and adds a personal touch to your home decor.
Mason jar lanterns are versatile and can be used in various settings, from indoor tables to outdoor patios, making them a great addition to your collection of DIY home decor crafts.
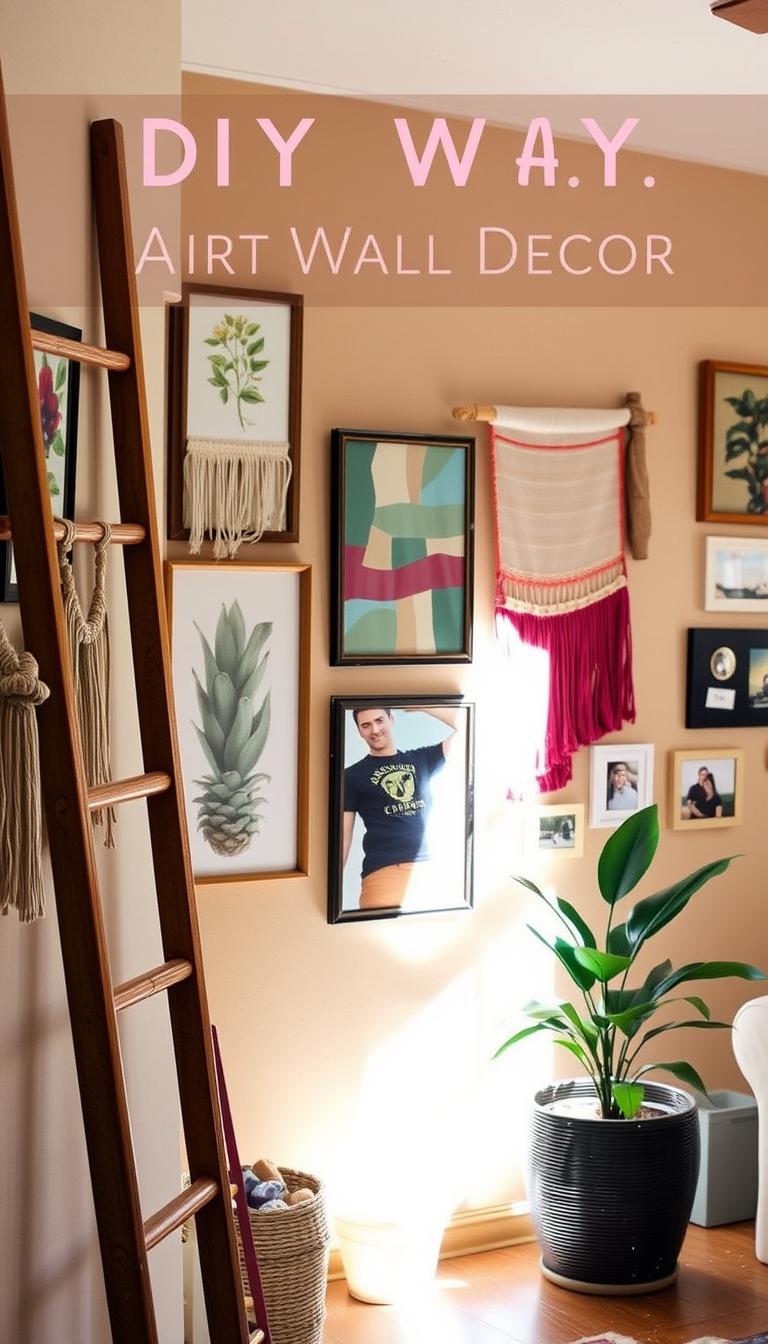
Vintage Book Page Wall Art

Transform your living space with a touch of elegance using vintage book pages. This unique decor idea not only adds a personal touch to your home but also promotes eco-friendly home crafting by reusing old materials.
As “The art of crafting is a reflection of our creativity and our ability to see beauty in the mundane”, creating vintage book page wall art is a great way to express your creativity while being sustainable.
Shopping List
- Old book pages
- Frame or canvas
- Adhesive (glue or decoupage medium)
- Scissors
- Optional: decorative items like ribbons or flowers
Instructions
- Select the book pages you want to use, then cut them into the desired shapes or sizes.
- Arrange the cut-out pages on your frame or canvas to achieve the desired layout.
- Apply adhesive to the back of the pages and attach them to the frame or canvas.
- Allow the adhesive to dry completely.
- Optional: Add decorative items to enhance the visual appeal.
By following these simple steps, you can create a beautiful piece of repurposed home decorations that adds a touch of vintage charm to your home. This sustainable diy crafts project is not only fun but also environmentally friendly.
“Crafting is a way to bring people together, to share stories, and to create something beautiful from the ordinary.”
Tin Can Herb Planters

Upcycle old tin cans into functional herb planters that add a personal touch to your home decor. This creative upcycling project not only reduces waste but also brings a touch of greenery into your kitchen. With a few simple materials and some basic DIY skills, you can create beautiful and functional herb planters.
Shopping List
To get started, you’ll need the following materials:
- Tin cans (various sizes)
- Soil
- Herb seeds or seedlings
- Paint and paintbrushes (optional)
- Decorative items (optional)
- Gloves
- Pencil or marker
Instructions
Follow these steps to create your tin can herb planters:
- Clean and Prepare the Tin Cans: Thoroughly wash the tin cans with soap and water. Remove any labels and residue. Dry the cans completely.
- Decorate the Cans (Optional): Use paint or decorative items to give your tin cans a personalized touch. Let the paint dry completely before proceeding.
- Fill with Soil: Fill each tin can with soil, leaving enough space for the herb seeds or seedlings.
- Plant the Herbs: Plant your chosen herbs in the soil. Follow the planting instructions for the specific herbs you’re using.
- Place and Enjoy: Position your tin can herb planters in a sunny spot in your kitchen or garden. Water and care for your herbs as needed.
Creating tin can herb planters is a fun and rewarding DIY project that promotes green living crafts and reduces waste. By upcycling old tin cans, you’re not only creating something beautiful but also contributing to a more sustainable lifestyle.
Old Sweater Pillow Covers

Upcycle your old sweaters into beautiful pillow covers that add warmth to your home decor. This sustainable DIY craft not only reduces waste but also adds a cozy, personalized touch to your living room. By repurposing old sweaters, you’re creating a unique piece of repurposed home decoration that tells a story.
Materials Needed
- Old sweaters (preferably made of thick, warm material)
- Pillow inserts
- Thread
- Sewing needles
- Scissors
- Measuring tape or ruler
Step-by-Step Instructions
- Select and Prepare the Sweater: Choose a sweater that fits your decor and is in good condition. Wash and dry it before starting the project.
- Measure the Pillow Insert: Measure your pillow insert to determine the size of the cover. Add a little extra around the edges for seam allowance.
- Cut Out the Sweater Material: Use your measurements to cut two identical pieces from the sweater. Make sure they are large enough to cover the pillow.
- Sew the Pieces Together: Place the two sweater pieces right sides together and sew around the edges, leaving a small gap for turning the cover right side out.
- Turn and Press: Turn the cover right side out and press the seams. Insert the pillow, and hand-sew the gap shut.
By following these simple steps, you can create a beautiful, sustainable DIY craft that adds a personal touch to your home. This project is a great way to get creative with DIY home decor crafts while being eco-friendly.
Wine Bottle Candle Holders

Breathing new life into old wine bottles can be as simple as turning them into charming candle holders. This upcycled home craft idea not only reduces waste but also adds a touch of elegance to any room. With a few simple materials and a bit of creativity, you can create beautiful, eco-friendly decor pieces.
Materials Needed
- Clean wine bottles
- Candles or tea lights
- Decorative twine or ribbon
- Optional: paint, glitter, or other decorative items
Step-by-Step Instructions
To start, ensure your wine bottles are clean and dry. If desired, you can add a decorative touch by wrapping twine or ribbon around the bottle’s neck. For an extra-special look, consider painting or adding glitter to the bottles, though this step is entirely optional.
Once your bottles are prepared, simply place a candle or a tea light inside. The glass will beautifully refract the light, creating a warm and inviting ambiance. You can put these eco-friendly candle holders on a dining table, mantel, or anywhere you wish to add a cozy glow.
Engaging in creative upcycling projects like this not only helps reduce waste but also allows you to express your creativity and personalize your home decor. Wine bottle candle holders make an excellent addition to any setting, offering a unique blend of sustainability and style.
Thrifted Frame Chalkboard

Transforming old thrifted frames into functional chalkboards is a creative way to reuse and recycle. This DIY project not only gives new life to an otherwise discarded item but also adds a unique touch to your home decor.
By repurposing an old thrifted frame, you can create a beautiful, functional chalkboard to jot down notes, reminders, or even decorative messages. This project is an excellent example of thrifted home decor ideas that can enhance the aesthetic of any room.
Materials Needed
- Thrifted frame
- Chalkboard paint
- Paintbrushes
- Screwdriver or hammer
- Hanging hardware (if needed)
Step-by-Step Instructions
To start, you’ll need to prepare your thrifted frame. Remove any glass or backing, and clean the frame thoroughly. If the frame is in poor condition, consider giving it a fresh coat of paint to match your desired decor.
Next, apply chalkboard paint to the area inside the frame where you want the chalkboard. Make sure to follow the manufacturer’s instructions for application and drying times. This step is crucial for creating a smooth, writable surface.
Once the paint is dry, reassemble the frame if necessary, and your thrifted frame chalkboard is ready to use. You can hang it on a wall or place it on a table or shelf, whichever you prefer.
This DIY home decor craft is not only fun and easy but also provides a unique way to add functionality to your home. By giving old items a new purpose, you’re part of the repurposed home decor trend that’s both eco-friendly and stylish.
Upcycled Drawer Shelf

Breathe new life into your home decor with an upcycled drawer shelf, a perfect blend of functionality and sustainability. This creative upcycling project not only reduces waste but also adds a unique touch to your living space.
Old drawers can be repurposed into beautiful shelves, providing additional storage and a conversation piece. Whether you’re a fan of green living crafts or just looking for a fun DIY project, this upcycled drawer shelf is a great way to get started.
Shopping List
To begin your project, you’ll need the following materials:
- Old drawers (one or more, depending on the size of your shelf)
- Screws and brackets for assembly
- Sandpaper and paint or stain (optional)
- Decorative items (optional)
Instructions
Follow these steps to create your upcycled drawer shelf:
- Collect and clean the old drawers. Remove any hardware that you don’t plan to use.
- If desired, sand and paint or stain the drawers to give them a fresh look.
- Assemble the drawers into a shelf configuration using screws and brackets.
- Attach the shelf to the wall to ensure stability.
- Add decorative items to enhance your shelf’s appearance.
This homemade upcycled drawer shelf makes a great addition to any room, providing a unique storage solution. It’s also a thoughtful idea for upcycled gifts for friends and family who appreciate handmade items.
Rustic Pallet Wood Signs

Pallet wood, once discarded, can be turned into beautiful rustic signs that add character to any room. This DIY project not only gives old materials a new life but also adds a personal touch to your home decor.
Materials Needed
- Pallet wood planks
- Sandpaper
- Wood stain or paint
- Paintbrushes
- A design or quote to stencil
- Sealant
To start, you’ll need to disassemble the pallets into individual planks. Ensure the wood is clean and dry before proceeding. Sanding the planks is crucial to smooth out any rough edges and surfaces.
Step-by-Step Instructions
Begin by arranging the pallet wood planks into the desired size and shape for your sign. Once you’re satisfied with the arrangement, use wood glue or nails to secure the planks together.
Apply a coat of wood stain or paint to enhance the rustic look. You can choose colors that match your home decor or go for a distressed look for added character.
After the stain or paint is dry, stencil your chosen design or quote onto the sign. Finally, apply a sealant to protect the sign from dust and wear.
By following these simple steps, you can create a beautiful rustic pallet wood sign that adds a touch of warmth and personality to your home. This DIY home decor craft is not only fun but also a great way to recycle and reuse materials, making it a perfect fit for recycled craft projects and repurposed home decorations.
Teacup Succulent Planters

Transforming old teacups into succulent planters is a creative way to add a touch of greenery to your home while embracing eco-friendly home crafting. This upcycled home craft idea not only reduces waste but also brings a unique charm to your decor.
Shopping List
To create your teacup succulent planters, you’ll need the following items: old teacups, succulent plants, potting soil, and decorative pebbles. Thrift stores are an excellent source for finding affordable, thrifted home decor ideas like vintage teacups.
Instructions
Start by cleaning and drying the teacups. Then, fill each teacup with potting soil and plant your chosen succulent. Top with decorative pebbles to add a finishing touch. This simple project is a great way to explore upcycled home craft ideas and create a beautiful, eco-friendly display.