Unleash Your Creativity with 10 Yarn Crafts
Creating fun and engaging yarn MyHomeStyleBlog.com is a participant in the Amazon Services LLC Associates Program, an affiliate advertising program designed to provide a means for sites to earn advertising fees by advertising and linking to Amazon.com. As an Amazon Associate, I earn from qualifying purchases. MyHomeStyleBlog.com is a participant in the Amazon Services LLC Associates Program, an affiliate advertising program designed to provide a means for sites to earn advertising fees by advertising and linking to Amazon.com. As an Amazon Associate, I earn from qualifying purchases. MyHomeStyleBlog.com is a participant in the Amazon Services LLC Associates Program, an affiliate advertising program designed to provide a means for sites to earn advertising fees by advertising and linking to Amazon.com. As an Amazon Associate, I earn from qualifying purchases. MyHomeStyleBlog.com is a participant in the Amazon Services LLC Associates Program, an affiliate advertising program designed to provide a means for sites to earn advertising fees by advertising and linking to Amazon.com. As an Amazon Associate, I earn from qualifying purchases.
Supplies Needed
- Yarn
MyHomeStyleBlog.com is a participant in the Amazon Services LLC Associates Program, an affiliate advertising program designed to provide a means for sites to earn advertising fees by advertising and linking to Amazon.com. As an Amazon Associate, I earn from qualifying purchases.
in multiple colors - Scissors
- Glue gun
- Crochet needle or sewing needle
Instructions
Start by gathering your yarn MyHomeStyleBlog.com is a participant in the Amazon Services LLC Associates Program, an affiliate advertising program designed to provide a means for sites to earn advertising fees by advertising and linking to Amazon.com. As an Amazon Associate, I earn from qualifying purchases. MyHomeStyleBlog.com is a participant in the Amazon Services LLC Associates Program, an affiliate advertising program designed to provide a means for sites to earn advertising fees by advertising and linking to Amazon.com. As an Amazon Associate, I earn from qualifying purchases. MyHomeStyleBlog.com is a participant in the Amazon Services LLC Associates Program, an affiliate advertising program designed to provide a means for sites to earn advertising fees by advertising and linking to Amazon.com. As an Amazon Associate, I earn from qualifying purchases.
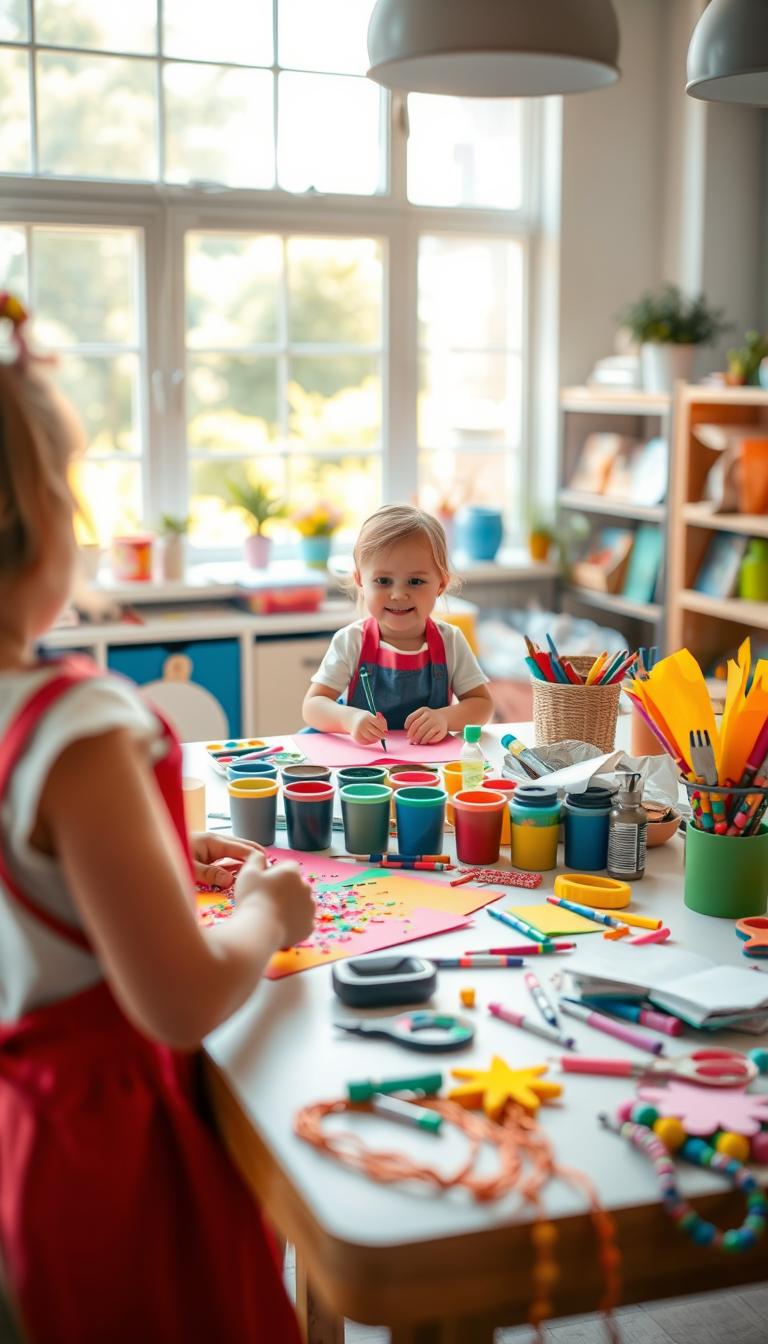
This project is perfect for anyone interested in crafting, as it allows for creativity and imagination. The yarn MyHomeStyleBlog.com is a participant in the Amazon Services LLC Associates Program, an affiliate advertising program designed to provide a means for sites to earn advertising fees by advertising and linking to Amazon.com. As an Amazon Associate, I earn from qualifying purchases.
Yarn Pom Poms
Yarn MyHomeStyleBlog.com is a participant in the Amazon Services LLC Associates Program, an affiliate advertising program designed to provide a means for sites to earn advertising fees by advertising and linking to Amazon.com. As an Amazon Associate, I earn from qualifying purchases. MyHomeStyleBlog.com is a participant in the Amazon Services LLC Associates Program, an affiliate advertising program designed to provide a means for sites to earn advertising fees by advertising and linking to Amazon.com. As an Amazon Associate, I earn from qualifying purchases.
Supplies Needed
- Colorful yarn
MyHomeStyleBlog.com is a participant in the Amazon Services LLC Associates Program, an affiliate advertising program designed to provide a means for sites to earn advertising fees by advertising and linking to Amazon.com. As an Amazon Associate, I earn from qualifying purchases.
- Scissors
- Pom pom maker or cardboard
Instructions
- Start by cutting a length of yarn
MyHomeStyleBlog.com is a participant in the Amazon Services LLC Associates Program, an affiliate advertising program designed to provide a means for sites to earn advertising fees by advertising and linking to Amazon.com. As an Amazon Associate, I earn from qualifying purchases.
for the center tie. Set it aside. - If using a pom pom maker, wrap yarn
MyHomeStyleBlog.com is a participant in the Amazon Services LLC Associates Program, an affiliate advertising program designed to provide a means for sites to earn advertising fees by advertising and linking to Amazon.com. As an Amazon Associate, I earn from qualifying purchases.
around both sides, filling it well. If using cardboard, cut two circles and a smaller circle in the middle. Wrap yarnMyHomeStyleBlog.com is a participant in the Amazon Services LLC Associates Program, an affiliate advertising program designed to provide a means for sites to earn advertising fees by advertising and linking to Amazon.com. As an Amazon Associate, I earn from qualifying purchases.
around until you reach the desired thickness. - Once you have enough yarn
MyHomeStyleBlog.com is a participant in the Amazon Services LLC Associates Program, an affiliate advertising program designed to provide a means for sites to earn advertising fees by advertising and linking to Amazon.com. As an Amazon Associate, I earn from qualifying purchases.
, carefully cut the strands around the edges. - Tie the center yarn
MyHomeStyleBlog.com is a participant in the Amazon Services LLC Associates Program, an affiliate advertising program designed to provide a means for sites to earn advertising fees by advertising and linking to Amazon.com. As an Amazon Associate, I earn from qualifying purchases.
piece tightly around the middle of the pom pom. This secures all the strands together. - Trim any uneven ends for a more uniform appearance.
- Explore various styles by using different colors and sizes to create unique yarn
MyHomeStyleBlog.com is a participant in the Amazon Services LLC Associates Program, an affiliate advertising program designed to provide a means for sites to earn advertising fees by advertising and linking to Amazon.com. As an Amazon Associate, I earn from qualifying purchases.
pom-poms.
Yarn Tassel Garland

Adding a vibrant touch to your home or party décor becomes easy with a handmade yarn MyHomeStyleBlog.com is a participant in the Amazon Services LLC Associates Program, an affiliate advertising program designed to provide a means for sites to earn advertising fees by advertising and linking to Amazon.com. As an Amazon Associate, I earn from qualifying purchases. MyHomeStyleBlog.com is a participant in the Amazon Services LLC Associates Program, an affiliate advertising program designed to provide a means for sites to earn advertising fees by advertising and linking to Amazon.com. As an Amazon Associate, I earn from qualifying purchases. MyHomeStyleBlog.com is a participant in the Amazon Services LLC Associates Program, an affiliate advertising program designed to provide a means for sites to earn advertising fees by advertising and linking to Amazon.com. As an Amazon Associate, I earn from qualifying purchases.
Supplies Needed
- Yarn
MyHomeStyleBlog.com is a participant in the Amazon Services LLC Associates Program, an affiliate advertising program designed to provide a means for sites to earn advertising fees by advertising and linking to Amazon.com. As an Amazon Associate, I earn from qualifying purchases.
in various colors - Scissors
- String or twine
- Cardboard (for making the tassels)
Instructions
- Start by cutting a piece of cardboard to your desired tassel length.
- Wrap the yarn
MyHomeStyleBlog.com is a participant in the Amazon Services LLC Associates Program, an affiliate advertising program designed to provide a means for sites to earn advertising fees by advertising and linking to Amazon.com. As an Amazon Associate, I earn from qualifying purchases.
around the cardboard several times (more wraps create a fuller tassel). - Carefully slide the yarn
MyHomeStyleBlog.com is a participant in the Amazon Services LLC Associates Program, an affiliate advertising program designed to provide a means for sites to earn advertising fees by advertising and linking to Amazon.com. As an Amazon Associate, I earn from qualifying purchases.
off and tie a tight knot around the middle. - Cut the loops at both ends to form the tassel shape.
- Repeat to make multiple tassels in different colors.
- Once you have enough tassels, tie them onto the string or twine at equal intervals.
- Hang your yarn
MyHomeStyleBlog.com is a participant in the Amazon Services LLC Associates Program, an affiliate advertising program designed to provide a means for sites to earn advertising fees by advertising and linking to Amazon.com. As an Amazon Associate, I earn from qualifying purchases.
tassel garland in your desired location and enjoy your handmade yarnMyHomeStyleBlog.com is a participant in the Amazon Services LLC Associates Program, an affiliate advertising program designed to provide a means for sites to earn advertising fees by advertising and linking to Amazon.com. As an Amazon Associate, I earn from qualifying purchases.
decorations!
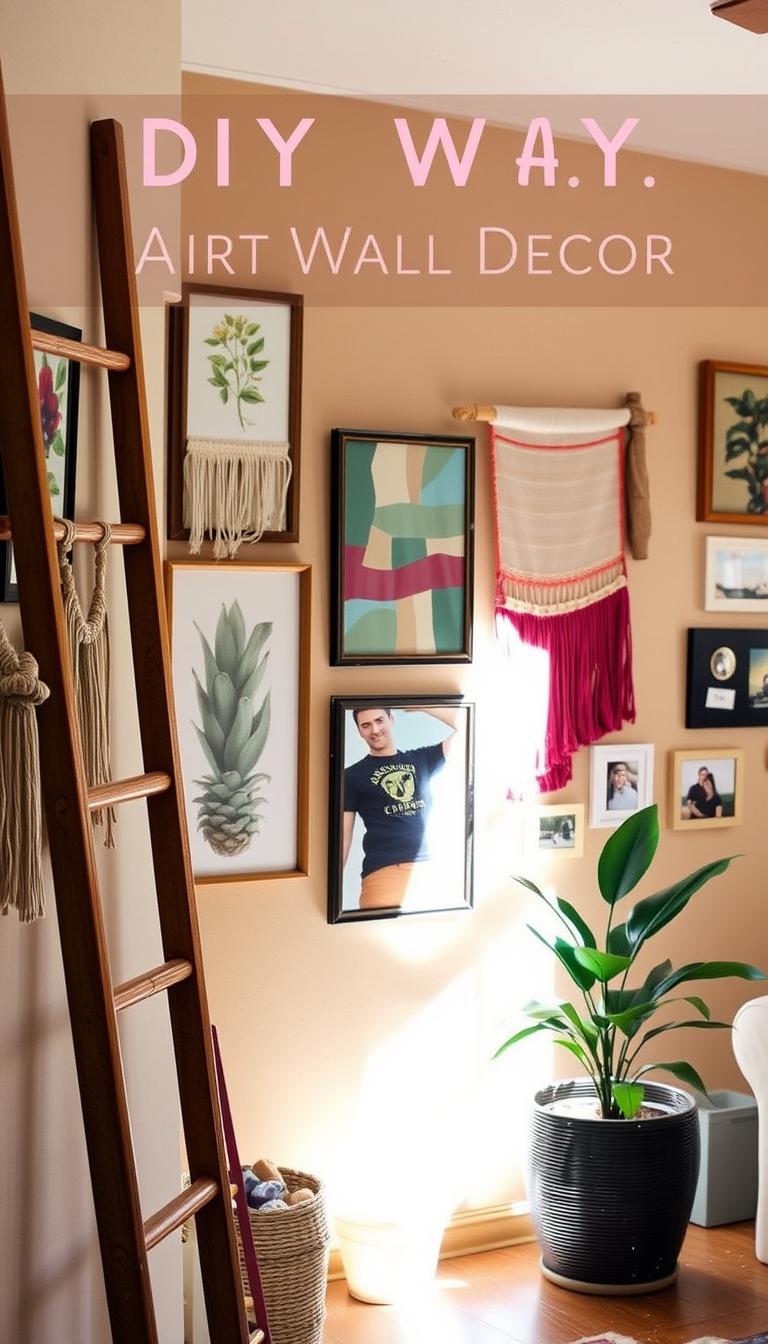
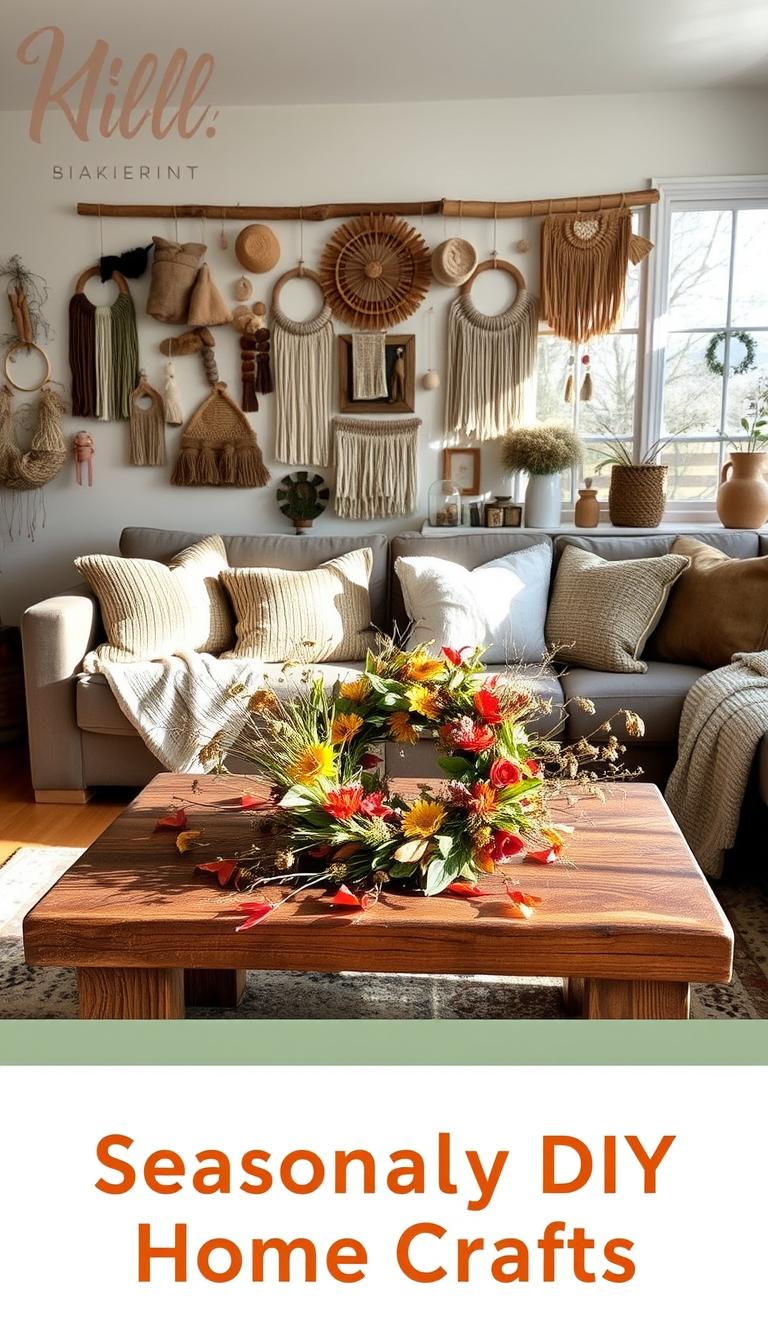
Yarn Wall Hanging

Transform your living space with a beautiful yarn MyHomeStyleBlog.com is a participant in the Amazon Services LLC Associates Program, an affiliate advertising program designed to provide a means for sites to earn advertising fees by advertising and linking to Amazon.com. As an Amazon Associate, I earn from qualifying purchases. MyHomeStyleBlog.com is a participant in the Amazon Services LLC Associates Program, an affiliate advertising program designed to provide a means for sites to earn advertising fees by advertising and linking to Amazon.com. As an Amazon Associate, I earn from qualifying purchases. MyHomeStyleBlog.com is a participant in the Amazon Services LLC Associates Program, an affiliate advertising program designed to provide a means for sites to earn advertising fees by advertising and linking to Amazon.com. As an Amazon Associate, I earn from qualifying purchases. MyHomeStyleBlog.com is a participant in the Amazon Services LLC Associates Program, an affiliate advertising program designed to provide a means for sites to earn advertising fees by advertising and linking to Amazon.com. As an Amazon Associate, I earn from qualifying purchases.
Supplies Needed
- Wooden dowel
- Various colors of yarn
MyHomeStyleBlog.com is a participant in the Amazon Services LLC Associates Program, an affiliate advertising program designed to provide a means for sites to earn advertising fees by advertising and linking to Amazon.com. As an Amazon Associate, I earn from qualifying purchases.
- Scissors
- Glue gun (optional)
- Measuring tape
Instructions
- Start by measuring your desired length for the yarn
MyHomeStyleBlog.com is a participant in the Amazon Services LLC Associates Program, an affiliate advertising program designed to provide a means for sites to earn advertising fees by advertising and linking to Amazon.com. As an Amazon Associate, I earn from qualifying purchases.
wall hanging, and cut the yarnMyHomeStyleBlog.com is a participant in the Amazon Services LLC Associates Program, an affiliate advertising program designed to provide a means for sites to earn advertising fees by advertising and linking to Amazon.com. As an Amazon Associate, I earn from qualifying purchases.
into pieces accordingly. - Take a piece of yarn
MyHomeStyleBlog.com is a participant in the Amazon Services LLC Associates Program, an affiliate advertising program designed to provide a means for sites to earn advertising fees by advertising and linking to Amazon.com. As an Amazon Associate, I earn from qualifying purchases.
, fold it in half, then tie the loop around the wooden dowel. Pull the ends through the loop to secure it. - Repeat this process with different yarn
MyHomeStyleBlog.com is a participant in the Amazon Services LLC Associates Program, an affiliate advertising program designed to provide a means for sites to earn advertising fees by advertising and linking to Amazon.com. As an Amazon Associate, I earn from qualifying purchases.
colors and textures, practicing various knots and patterns for an intricate design. - Once you’ve hung all the yarn
MyHomeStyleBlog.com is a participant in the Amazon Services LLC Associates Program, an affiliate advertising program designed to provide a means for sites to earn advertising fees by advertising and linking to Amazon.com. As an Amazon Associate, I earn from qualifying purchases.
pieces, trim them to your preferred length for a uniform look. - If desired, add embellishments or attach other materials using the glue gun.
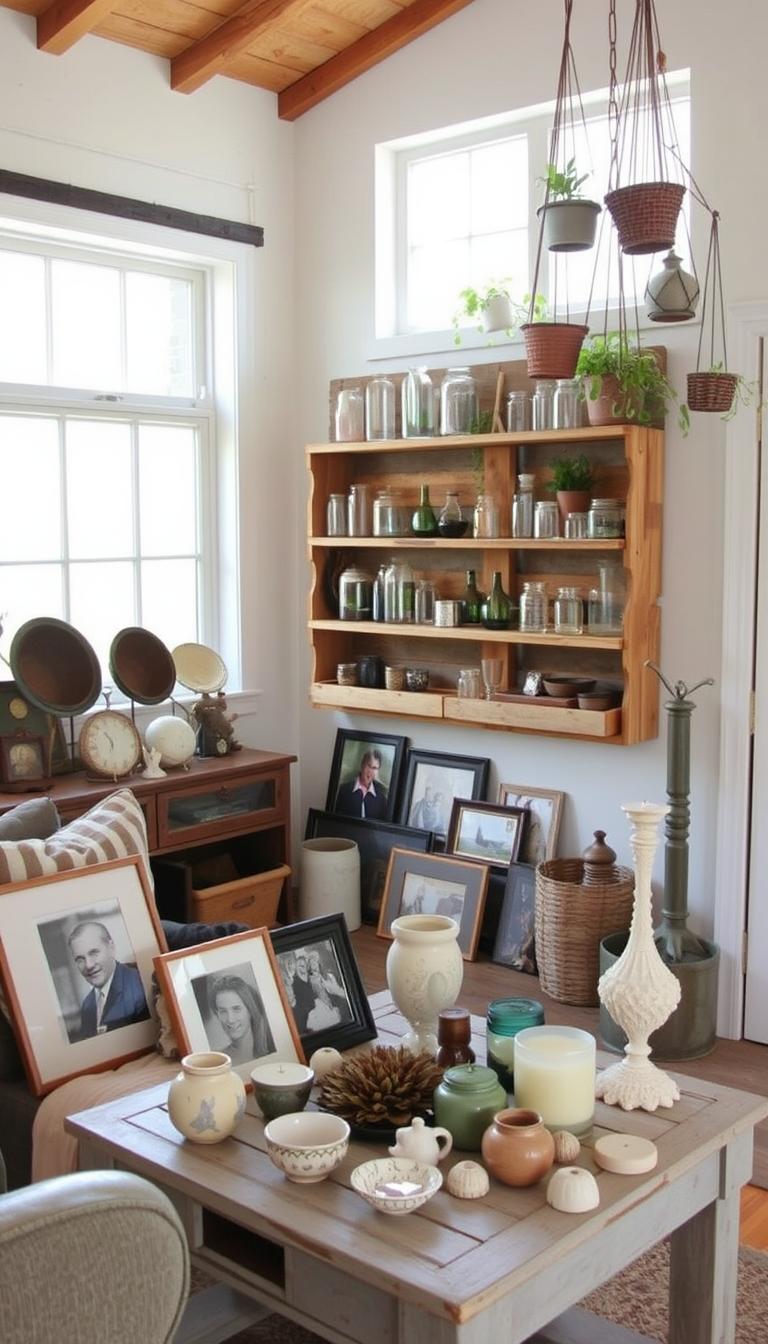
Yarn-Wrapped Mason Jars

Transform ordinary mason jars into delightful decorations with a simple yarn MyHomeStyleBlog.com is a participant in the Amazon Services LLC Associates Program, an affiliate advertising program designed to provide a means for sites to earn advertising fees by advertising and linking to Amazon.com. As an Amazon Associate, I earn from qualifying purchases.
Supplies Needed
- Mason jars
- Assorted yarn
MyHomeStyleBlog.com is a participant in the Amazon Services LLC Associates Program, an affiliate advertising program designed to provide a means for sites to earn advertising fees by advertising and linking to Amazon.com. As an Amazon Associate, I earn from qualifying purchases.
(pick your favorite colors) - Scissors
- Craft adhesive or hot glue gun
Instructions
- Start by selecting your mason jars and laying out your yarn
MyHomeStyleBlog.com is a participant in the Amazon Services LLC Associates Program, an affiliate advertising program designed to provide a means for sites to earn advertising fees by advertising and linking to Amazon.com. As an Amazon Associate, I earn from qualifying purchases.
craft supplies. - Cut a length of yarn
MyHomeStyleBlog.com is a participant in the Amazon Services LLC Associates Program, an affiliate advertising program designed to provide a means for sites to earn advertising fees by advertising and linking to Amazon.com. As an Amazon Associate, I earn from qualifying purchases.
, approximately 2-3 times the height of the mason jar. - Apply a small amount of adhesive to the jar’s surface where you will begin wrapping the yarn
MyHomeStyleBlog.com is a participant in the Amazon Services LLC Associates Program, an affiliate advertising program designed to provide a means for sites to earn advertising fees by advertising and linking to Amazon.com. As an Amazon Associate, I earn from qualifying purchases.
. - Begin wrapping the yarn
MyHomeStyleBlog.com is a participant in the Amazon Services LLC Associates Program, an affiliate advertising program designed to provide a means for sites to earn advertising fees by advertising and linking to Amazon.com. As an Amazon Associate, I earn from qualifying purchases.
tightly around the jar, keeping the strands close together. - Add more adhesive as needed to ensure the yarn
MyHomeStyleBlog.com is a participant in the Amazon Services LLC Associates Program, an affiliate advertising program designed to provide a means for sites to earn advertising fees by advertising and linking to Amazon.com. As an Amazon Associate, I earn from qualifying purchases.
stays in place. - Continue wrapping until you reach the desired coverage.
- Secure the end of the yarn
MyHomeStyleBlog.com is a participant in the Amazon Services LLC Associates Program, an affiliate advertising program designed to provide a means for sites to earn advertising fees by advertising and linking to Amazon.com. As an Amazon Associate, I earn from qualifying purchases.
with adhesive once finished. - Feel free to embellish further with ribbons or other decorations if desired.
Yarn Coasters

Creating your own yarn MyHomeStyleBlog.com is a participant in the Amazon Services LLC Associates Program, an affiliate advertising program designed to provide a means for sites to earn advertising fees by advertising and linking to Amazon.com. As an Amazon Associate, I earn from qualifying purchases. MyHomeStyleBlog.com is a participant in the Amazon Services LLC Associates Program, an affiliate advertising program designed to provide a means for sites to earn advertising fees by advertising and linking to Amazon.com. As an Amazon Associate, I earn from qualifying purchases. MyHomeStyleBlog.com is a participant in the Amazon Services LLC Associates Program, an affiliate advertising program designed to provide a means for sites to earn advertising fees by advertising and linking to Amazon.com. As an Amazon Associate, I earn from qualifying purchases. MyHomeStyleBlog.com is a participant in the Amazon Services LLC Associates Program, an affiliate advertising program designed to provide a means for sites to earn advertising fees by advertising and linking to Amazon.com. As an Amazon Associate, I earn from qualifying purchases.
Supplies Needed
- Cotton yarn
MyHomeStyleBlog.com is a participant in the Amazon Services LLC Associates Program, an affiliate advertising program designed to provide a means for sites to earn advertising fees by advertising and linking to Amazon.com. As an Amazon Associate, I earn from qualifying purchases.
in complementary colors - Crochet hook or needle
- Scissors
- Tape measure or ruler
- Yarn
MyHomeStyleBlog.com is a participant in the Amazon Services LLC Associates Program, an affiliate advertising program designed to provide a means for sites to earn advertising fees by advertising and linking to Amazon.com. As an Amazon Associate, I earn from qualifying purchases.
needle (for weaving in ends)
Instructions
- Choose your yarn
MyHomeStyleBlog.com is a participant in the Amazon Services LLC Associates Program, an affiliate advertising program designed to provide a means for sites to earn advertising fees by advertising and linking to Amazon.com. As an Amazon Associate, I earn from qualifying purchases.
colors and cut a length of yarnMyHomeStyleBlog.com is a participant in the Amazon Services LLC Associates Program, an affiliate advertising program designed to provide a means for sites to earn advertising fees by advertising and linking to Amazon.com. As an Amazon Associate, I earn from qualifying purchases.
to start your coaster. - Start crocheting or wrapping the yarn
MyHomeStyleBlog.com is a participant in the Amazon Services LLC Associates Program, an affiliate advertising program designed to provide a means for sites to earn advertising fees by advertising and linking to Amazon.com. As an Amazon Associate, I earn from qualifying purchases.
into your desired pattern, such as circular or square shapes. - Continue adding rows or rounds until you reach your preferred size and thickness.
- Finish off by weaving in any loose ends to secure your project.
- Repeat these steps to create a matching set for a cohesive look.
Yarn Wreath

A yarn MyHomeStyleBlog.com is a participant in the Amazon Services LLC Associates Program, an affiliate advertising program designed to provide a means for sites to earn advertising fees by advertising and linking to Amazon.com. As an Amazon Associate, I earn from qualifying purchases. MyHomeStyleBlog.com is a participant in the Amazon Services LLC Associates Program, an affiliate advertising program designed to provide a means for sites to earn advertising fees by advertising and linking to Amazon.com. As an Amazon Associate, I earn from qualifying purchases. MyHomeStyleBlog.com is a participant in the Amazon Services LLC Associates Program, an affiliate advertising program designed to provide a means for sites to earn advertising fees by advertising and linking to Amazon.com. As an Amazon Associate, I earn from qualifying purchases. MyHomeStyleBlog.com is a participant in the Amazon Services LLC Associates Program, an affiliate advertising program designed to provide a means for sites to earn advertising fees by advertising and linking to Amazon.com. As an Amazon Associate, I earn from qualifying purchases.
Supplies Needed
- Foam wreath form
- Various colors of yarn
MyHomeStyleBlog.com is a participant in the Amazon Services LLC Associates Program, an affiliate advertising program designed to provide a means for sites to earn advertising fees by advertising and linking to Amazon.com. As an Amazon Associate, I earn from qualifying purchases.
- Scissors
- Embellishments (faux flowers, ribbons, or other decorative items)
Instructions
- Begin by securing the end of the yarn
MyHomeStyleBlog.com is a participant in the Amazon Services LLC Associates Program, an affiliate advertising program designed to provide a means for sites to earn advertising fees by advertising and linking to Amazon.com. As an Amazon Associate, I earn from qualifying purchases.
to the foam wreath form using a small dot of hot glue. - Wrap the yarn
MyHomeStyleBlog.com is a participant in the Amazon Services LLC Associates Program, an affiliate advertising program designed to provide a means for sites to earn advertising fees by advertising and linking to Amazon.com. As an Amazon Associate, I earn from qualifying purchases.
tightly around the wreath, making sure to cover it evenly. - Continue wrapping until the entire wreath is covered with yarn
MyHomeStyleBlog.com is a participant in the Amazon Services LLC Associates Program, an affiliate advertising program designed to provide a means for sites to earn advertising fees by advertising and linking to Amazon.com. As an Amazon Associate, I earn from qualifying purchases.
, adding more colors as desired for a fun, vibrant look. - Once finished, secure the end of the yarn
MyHomeStyleBlog.com is a participant in the Amazon Services LLC Associates Program, an affiliate advertising program designed to provide a means for sites to earn advertising fees by advertising and linking to Amazon.com. As an Amazon Associate, I earn from qualifying purchases.
with glue and trim any excess. - Now it’s time to personalize your yarn
MyHomeStyleBlog.com is a participant in the Amazon Services LLC Associates Program, an affiliate advertising program designed to provide a means for sites to earn advertising fees by advertising and linking to Amazon.com. As an Amazon Associate, I earn from qualifying purchases.
wreath! Attach embellishments such as faux flowers or ribbons with hot glue to add a special touch. - Finally, find a lovely spot to display your beautiful yarn
MyHomeStyleBlog.com is a participant in the Amazon Services LLC Associates Program, an affiliate advertising program designed to provide a means for sites to earn advertising fees by advertising and linking to Amazon.com. As an Amazon Associate, I earn from qualifying purchases.
wreath, ready to brighten up your space.
Yarn Dream Catcher

Create a beautiful yarn MyHomeStyleBlog.com is a participant in the Amazon Services LLC Associates Program, an affiliate advertising program designed to provide a means for sites to earn advertising fees by advertising and linking to Amazon.com. As an Amazon Associate, I earn from qualifying purchases. MyHomeStyleBlog.com is a participant in the Amazon Services LLC Associates Program, an affiliate advertising program designed to provide a means for sites to earn advertising fees by advertising and linking to Amazon.com. As an Amazon Associate, I earn from qualifying purchases.
Supplies Needed
- Hoop or twig for the base
- Yarn
MyHomeStyleBlog.com is a participant in the Amazon Services LLC Associates Program, an affiliate advertising program designed to provide a means for sites to earn advertising fees by advertising and linking to Amazon.com. As an Amazon Associate, I earn from qualifying purchases.
in various colors - Feathers
- Beads
Instructions
- Begin by securing the yarn
MyHomeStyleBlog.com is a participant in the Amazon Services LLC Associates Program, an affiliate advertising program designed to provide a means for sites to earn advertising fees by advertising and linking to Amazon.com. As an Amazon Associate, I earn from qualifying purchases.
to the hoop or twig to create a tight base. - Wrap the yarn
MyHomeStyleBlog.com is a participant in the Amazon Services LLC Associates Program, an affiliate advertising program designed to provide a means for sites to earn advertising fees by advertising and linking to Amazon.com. As an Amazon Associate, I earn from qualifying purchases.
around the hoop, leaving spaces for the web design. - Use a different color yarn
MyHomeStyleBlog.com is a participant in the Amazon Services LLC Associates Program, an affiliate advertising program designed to provide a means for sites to earn advertising fees by advertising and linking to Amazon.com. As an Amazon Associate, I earn from qualifying purchases.
to create a web pattern across the hoop. - Attach feathers and beads at the end of the yarn
MyHomeStyleBlog.com is a participant in the Amazon Services LLC Associates Program, an affiliate advertising program designed to provide a means for sites to earn advertising fees by advertising and linking to Amazon.com. As an Amazon Associate, I earn from qualifying purchases.
strands to enhance your dream catcher. - Hang your finished yarn
MyHomeStyleBlog.com is a participant in the Amazon Services LLC Associates Program, an affiliate advertising program designed to provide a means for sites to earn advertising fees by advertising and linking to Amazon.com. As an Amazon Associate, I earn from qualifying purchases.
dream catcher in a special place to enjoy its beauty.
Yarn Keychains

Yarn MyHomeStyleBlog.com is a participant in the Amazon Services LLC Associates Program, an affiliate advertising program designed to provide a means for sites to earn advertising fees by advertising and linking to Amazon.com. As an Amazon Associate, I earn from qualifying purchases. MyHomeStyleBlog.com is a participant in the Amazon Services LLC Associates Program, an affiliate advertising program designed to provide a means for sites to earn advertising fees by advertising and linking to Amazon.com. As an Amazon Associate, I earn from qualifying purchases. MyHomeStyleBlog.com is a participant in the Amazon Services LLC Associates Program, an affiliate advertising program designed to provide a means for sites to earn advertising fees by advertising and linking to Amazon.com. As an Amazon Associate, I earn from qualifying purchases. MyHomeStyleBlog.com is a participant in the Amazon Services LLC Associates Program, an affiliate advertising program designed to provide a means for sites to earn advertising fees by advertising and linking to Amazon.com. As an Amazon Associate, I earn from qualifying purchases.
Supplies Needed
- Yarn
MyHomeStyleBlog.com is a participant in the Amazon Services LLC Associates Program, an affiliate advertising program designed to provide a means for sites to earn advertising fees by advertising and linking to Amazon.com. As an Amazon Associate, I earn from qualifying purchases.
in various colors - Scissors
- Keychain rings
- Optional: Beads or charms for added flair
Instructions
- Start by cutting a piece of yarn
MyHomeStyleBlog.com is a participant in the Amazon Services LLC Associates Program, an affiliate advertising program designed to provide a means for sites to earn advertising fees by advertising and linking to Amazon.com. As an Amazon Associate, I earn from qualifying purchases.
to your desired length for the keychain body. - Fold the yarn
MyHomeStyleBlog.com is a participant in the Amazon Services LLC Associates Program, an affiliate advertising program designed to provide a means for sites to earn advertising fees by advertising and linking to Amazon.com. As an Amazon Associate, I earn from qualifying purchases.
in half, then tie a knot at the top to form a loop. - Begin wrapping yarn
MyHomeStyleBlog.com is a participant in the Amazon Services LLC Associates Program, an affiliate advertising program designed to provide a means for sites to earn advertising fees by advertising and linking to Amazon.com. As an Amazon Associate, I earn from qualifying purchases.
around the length to add thickness and design. - Secure the ends with another knot, then attach the yarn
MyHomeStyleBlog.com is a participant in the Amazon Services LLC Associates Program, an affiliate advertising program designed to provide a means for sites to earn advertising fees by advertising and linking to Amazon.com. As an Amazon Associate, I earn from qualifying purchases.
keychain to the ring. - Feel free to add beads or charms to enhance the look.
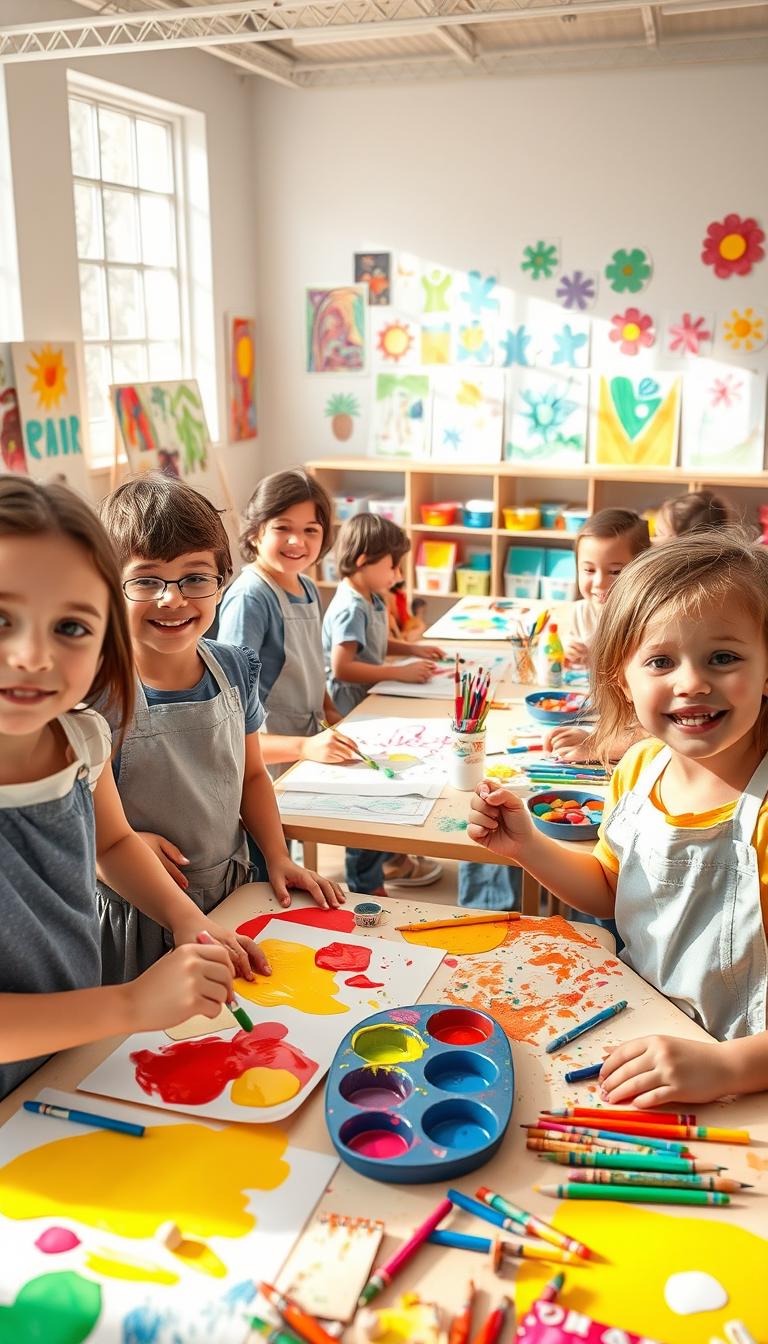
Yarn Pom Pom Animals
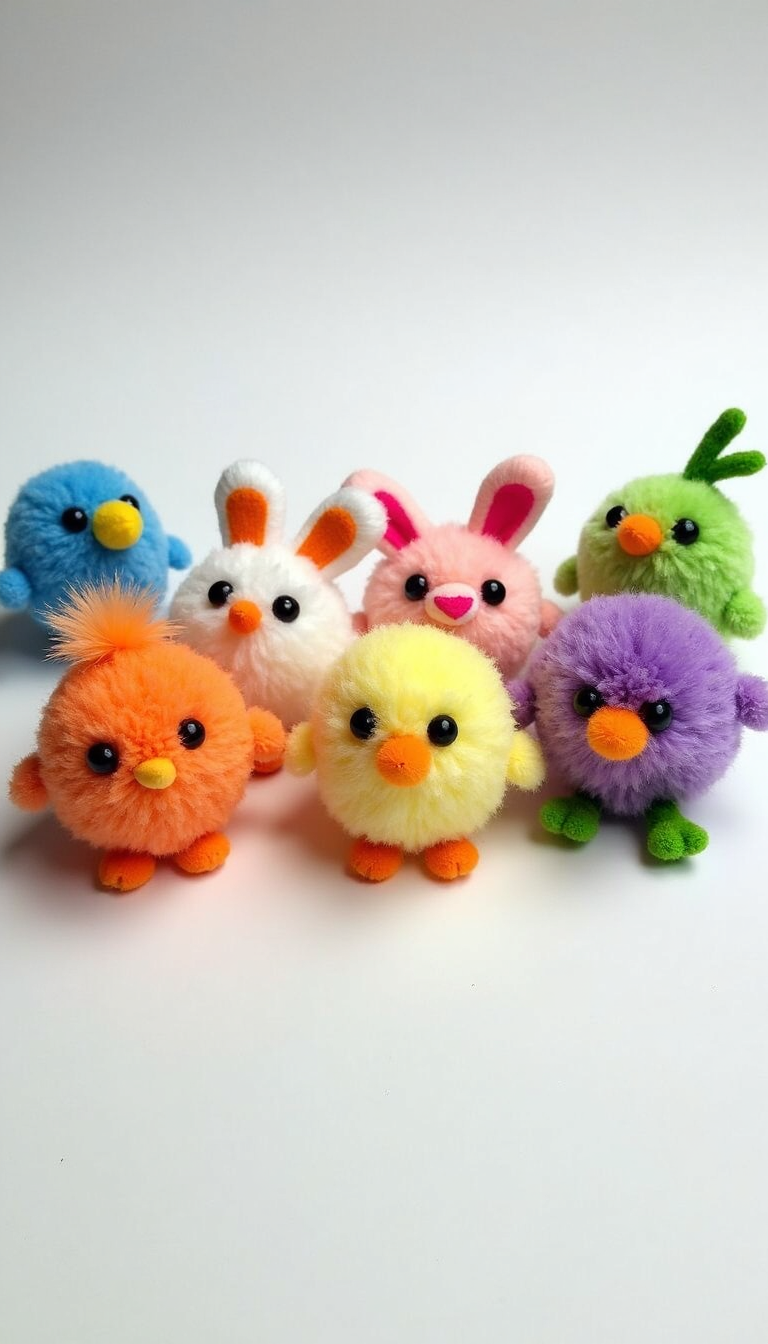
Bring some whimsy into your craft time with delightful yarn MyHomeStyleBlog.com is a participant in the Amazon Services LLC Associates Program, an affiliate advertising program designed to provide a means for sites to earn advertising fees by advertising and linking to Amazon.com. As an Amazon Associate, I earn from qualifying purchases. MyHomeStyleBlog.com is a participant in the Amazon Services LLC Associates Program, an affiliate advertising program designed to provide a means for sites to earn advertising fees by advertising and linking to Amazon.com. As an Amazon Associate, I earn from qualifying purchases.
Supplies Needed
Supplies Needed
- Colorful yarn
MyHomeStyleBlog.com is a participant in the Amazon Services LLC Associates Program, an affiliate advertising program designed to provide a means for sites to earn advertising fees by advertising and linking to Amazon.com. As an Amazon Associate, I earn from qualifying purchases.
- Scissors
- Craft glue
- Googly eyes
- Felt pieces or other small embellishments
Instructions
- Wrap yarn
MyHomeStyleBlog.com is a participant in the Amazon Services LLC Associates Program, an affiliate advertising program designed to provide a means for sites to earn advertising fees by advertising and linking to Amazon.com. As an Amazon Associate, I earn from qualifying purchases.
around fingers or a pom-pom maker until thick - Slide the yarn
MyHomeStyleBlog.com is a participant in the Amazon Services LLC Associates Program, an affiliate advertising program designed to provide a means for sites to earn advertising fees by advertising and linking to Amazon.com. As an Amazon Associate, I earn from qualifying purchases.
off and tie it tightly around the center - Cut the loops on both ends
- Fluff the pom-pom and trim into a round shape
- Make more pom-poms in different sizes (head/body/etc.)
- Arrange pom-poms into your animal shape
- Glue pom-poms together and let them set
- Glue on googly eyes
- Add felt pieces (ears, nose, tail) or other decorations
- Let everything dry completely