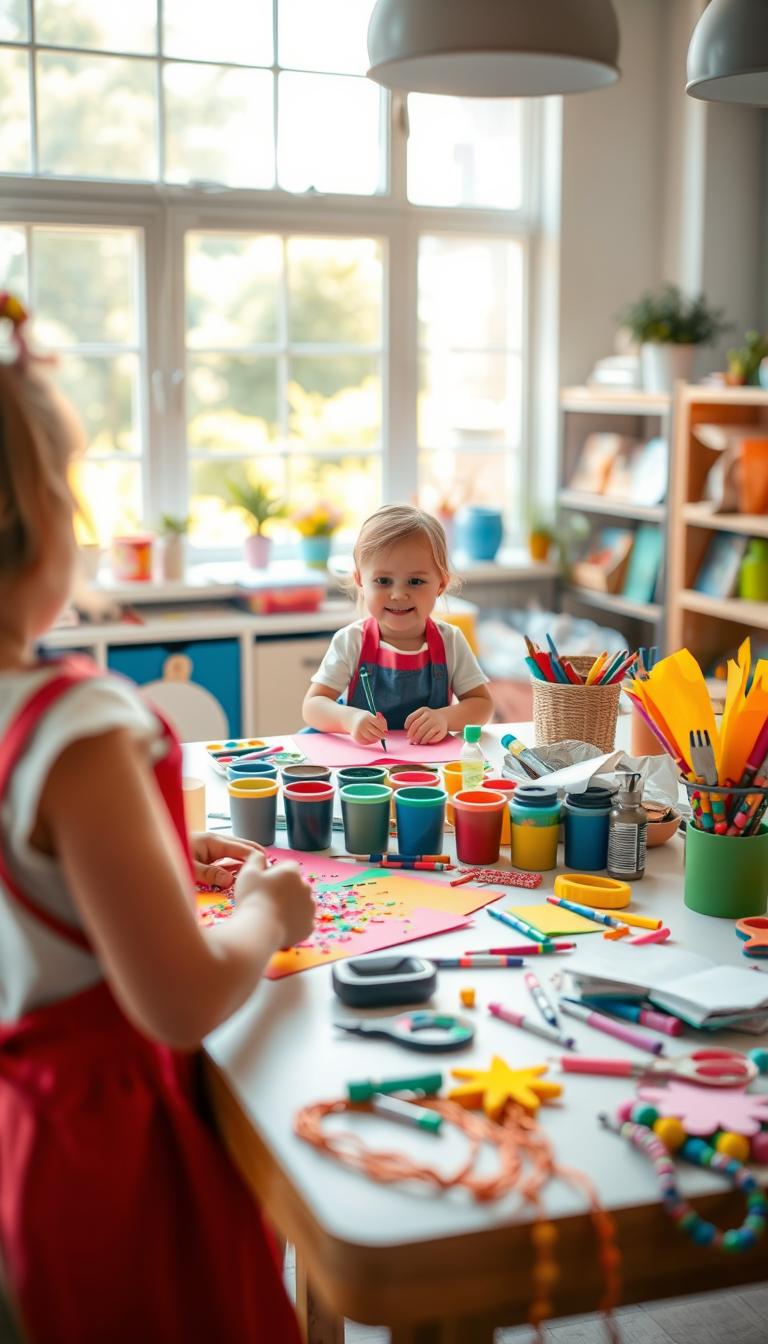
Welcome to a world of creativity and imagination with our inspiring kids’ art projects! Engaging in easy art projects for kids not only sparks their creativity but also enhances fine motor skills and fosters cognitive development. According to The Artful Parent, the best kids’ art projects are open-ended and enjoyable, allowing children to express themselves freely. Each activity listed here is designed to appeal to a broad age range and can be easily repeated at home or in the classroom. Plus, parents will find helpful tips and printable eBooks to guide them through these creative art activities, ensuring a fun experience for everyone involved!
Key Takeaways
- Kids’ art projects stimulate creativity and imagination.
- Easy art projects for kids enhance fine motor skills.
- Each activity is open-ended, promoting individual expression.
- Suitable for a wide age range, making it perfect for family engagement.
- Printable eBooks provide step-by-step guidance for smooth execution.
Paper Plate Animal Masks

Creating paper plate animal masks offers a fun and engaging activity for kids. This hands-on craft not only sparks creativity but also helps children develop fine motor skills. Gather your supplies and let the artistic adventure begin!
Shopping List
- Paper plates
- Colored markers or crayons
- Craft glue
- Felt or construction paper (for features)
- Scissors
- String or elastic bands (for wearing the masks)
Instructions
- Start by selecting a paper plate as the base for the mask.
- Draw the outline of your desired animal’s features on the plate using colored markers or crayons.
- Cut out shapes from felt or construction paper for eyes, ears, and noses.
- Glue the paper features onto the plate to give it a lively character.
- Make holes on the sides of the plate to attach a string or elastic bands, allowing it to be worn comfortably.
- Finish the mask by adding any finishing touches, such as whiskers or spots with additional colors.
Handprint Rainbow Painting

Creating a handprint rainbow painting is an excellent way for kids to explore their creativity while learning about colors and shapes. This project is simple and allows little artists to leave their unique mark as they paint. Engage their imagination and let them enjoy this colorful activity.
Shopping List
- Non-toxic washable paints in red, orange, yellow, green, blue, and purple
- Large sheet of white paper or canvas
- Paintbrushes or sponges for application
- Water container for rinsing
- Paper towels for cleanup
Instructions
- Begin by laying down the white paper or canvas on a flat surface. Make sure the area is protected to avoid any mess.
- Pour a small amount of each paint color onto a palette or paper plate.
- Have your child pick a color and dip their hand in the paint. Press their hand onto the paper to create a handprint.
- Repeat this process for each paint color, forming a rainbow effect by overlapping the handprints if desired.
- Allow the painting to dry completely before proudly displaying it.
Cotton Ball Cloud Craft

Bring a touch of whimsy to your child’s art experience with the Cotton Ball Cloud Craft. This simple project fosters creativity and fine motor skills, allowing kids to express themselves through imaginative cloud designs. The fluffy texture adds a fun element, and the vibrant colors make it a delightful activity for young artists. Gather your supplies and let the crafting begin!
Shopping List
- Cotton balls
- Blue construction paper
- Glue
- Scissors
- Markers or crayons
Instructions
- Start by cutting out cloud shapes from the blue construction paper.
- Apply glue to the cloud shapes, ensuring even coverage.
- Place cotton balls on the glue and press gently so they stick well.
- Use markers or crayons to decorate the background, adding a sun or rainbows for extra flair.
- Allow everything to dry thoroughly before displaying the masterpiece.
Popsicle Stick Picture Frames

Create fun and personalized popsicle stick picture frames for your favorite memories. This project is not only enjoyable but also enables kids to express their creativity while developing fine motor skills. Gather your materials and get ready to craft something special with these simple steps.
Shopping List
- Popsicle sticks
- Craft glue or a hot glue gun
- Decorative stickers or paint
- Scissors
- Small photos or artwork
- Cardboard or cardstock for backing
Instructions
- First, lay out six popsicle sticks in a rectangular shape to form the frame. Use glue to secure the corners.
- Once dry, decorate the frame with stickers or paint, adding personal touches that reflect each child’s style.
- Cut a piece of cardboard or cardstock slightly smaller than the frame. This will serve as the backing for your photo.
- Glue your selected photo or artwork to the backing. Position it within the frame and secure the frame to the backing with glue.
- For easy display, attach additional popsicle sticks or a ribbon to the back for hanging purposes.
Egg Carton Flower Garden

Create a delightful Egg Carton Flower Garden with your kids using simple materials. This craft offers a fun way to engage with nature while being environmentally friendly by recycling materials. A flower garden made from egg cartons can brighten up any space, adding a personal touch to your home decor.
Shopping List
- Empty egg cartons
- Scissors
- Acrylic paint or markers
- Paintbrushes
- Green pipe cleaners or straws
- Glue
- Craft foam (optional for added decoration)
Instructions
- Start by cutting the egg carton into individual sections that resemble flower shapes.
- Let your kids paint each flower in vibrant colors. Use different patterns and designs to make it creative.
- Once the paint dries, carefully attach a pipe cleaner or straw to the base of each flower using glue.
- Arrange the flowers in a pot or a designated area to create your beautiful garden display.
- Encourage your children to add embellishments using craft foam or additional decorations.
Crayon Melt Canvas Art

Create vibrant and exciting artwork with crayon melt canvas art, a fantastic project for kids. This art activity not only sparks creativity but also adds a burst of color to any room. Watching crayons melt and drip down a canvas is sure to be a fun experience that children will love.
Shopping List
- Canvas boards
- Crayons (various colors)
- Hot glue gun and glue sticks
- Hairdryer
- Protective covering for work surface
- Painter’s tape (optional)
Instructions
- Preheat the hot glue gun. While waiting, arrange the crayons in a desired color pattern on the top edge of the canvas.
- Once the glue gun is ready, carefully attach the crayons to the canvas using a small amount of glue, ensuring they are secure.
- If you’d like to create a clean edge, use painter’s tape to mask off sections of the canvas.
- Set the canvas at a slight angle to encourage the melted crayon wax to drip down. Turn on the hairdryer to a medium setting and aim it at the crayons.
- Watch as the crayons melt and begin to drip down the canvas, creating beautiful patterns. Move the hairdryer to control the flow and direction of the wax.
- Allow the artwork to dry completely before displaying it. Choose a spot where your masterpiece can be admired.
Tissue Paper Sun Catchers

Creating vibrant tissue paper sun catchers is a delightful activity for children and a fun way to bring color and joy to any window. This project not only brightens up a room but also encourages creativity while developing fine motor skills. Follow the steps below to create unique sun catchers that catch the light beautifully.
Shopping List
- Tissue paper in various colors
- Clear contact paper
- Scissors
- Construction paper or cardstock
- Marker or crayon (optional)
Instructions
- Start by cutting the tissue paper into small squares or shapes. Bright colors work best.
- Take a piece of clear contact paper and peel off the backing. Place it sticky side up on a flat surface.
- Arrange the tissue paper pieces on the contact paper, overlapping them to create a colorful collage.
- Once satisfied with the arrangement, place another piece of contact paper on top to seal the tissue paper.
- Cut the sun catcher out in a shape you like, leaving a small border of contact paper around the edges.
- Optionally, you can draw a design or write a message on the construction paper or cardstock. Then, attach the sun catcher using tape or glue.
Potato Stamp Art

Potato stamp art offers a creative way for children to explore their artistic side while developing fine motor skills. This fun craft utilizes everyday materials, making it a perfect project for rainy afternoons or school art classes. Kids will enjoy transforming simple potatoes into unique stamps that can create a variety of patterns and designs.
Shopping List
- Medium-sized potatoes
- Sharp knife (for adult use)
- Non-toxic paint
- Paper (white or colored)
- Paintbrush (optional for easier application)
- Paper towels
Instructions
- Cut the potatoes in half to create a flat surface for stamping. An adult should handle this step.
- Carve a shape or design into the cut side of the potato. This could be anything from hearts to stars.
- Pour some paint onto a plate or shallow dish. Kids can dip the carved side of the potato into the paint, coating it evenly.
- Press the potato stamp onto the paper, applying even pressure to create a clear print.
- Lift the potato to reveal the design. Repeat with different colors and shapes to create beautiful artwork.
Watercolor Salt Painting

Watercolor salt painting offers a unique blend of simplicity and creativity, making it a fantastic art project for kids. This fun technique showcases the vibrant interaction between watercolor and salt, resulting in fascinating textures and designs. With just a few materials, young artists can explore their creativity while enhancing their understanding of color mixing and layering. Let’s dive into what you’ll need and how to get started with this exciting project.
Shopping List
- Watercolor paints
- Salt (table salt or coarse salt)
- Watercolor paper
- Paintbrushes
- Water cups
- Paper towels
Instructions
- Start by preparing your watercolor paper on a flat surface.
- Choose different colors of watercolor paints and create your design on the paper.
- While the paint is still wet, sprinkle salt generously over the painted areas.
- Watch as the salt absorbs the paint, creating beautiful textures.
- Allow the artwork to dry completely, preferably overnight.
- Once dry, gently brush off any excess salt to reveal your stunning watercolor salt painting.
Fingerprint Bug Scene
Engage your little ones with the delightful Fingerprint Bug Scene art project! This fun and creative activity allows children to express their imagination through colorful fingerprints that come alive as whimsical bugs. All you need are a few simple art supplies, making it an accessible and enjoyable experience for kids of all ages.
Shopping List
To get started on this project, gather the following items:
- Washable ink pads in various colors
- Blank white cardstock or drawing paper
- Pens or markers for detailing
- Wipes or a damp cloth for easy clean-up
Instructions
Begin by having your child choose their favorite colors of ink pads. Encourage them to dip their fingertips into the ink and press them onto the cardstock to create the bugs’ bodies, ensuring they have fun experimenting with different shapes and sizes. Once the fingerprints dry, use pens or markers to add legs, antennae, and delightful facial expressions, bringing their creations to life. This project not only sparks creativity but also strengthens fine motor skills, making it an excellent addition to any art day!