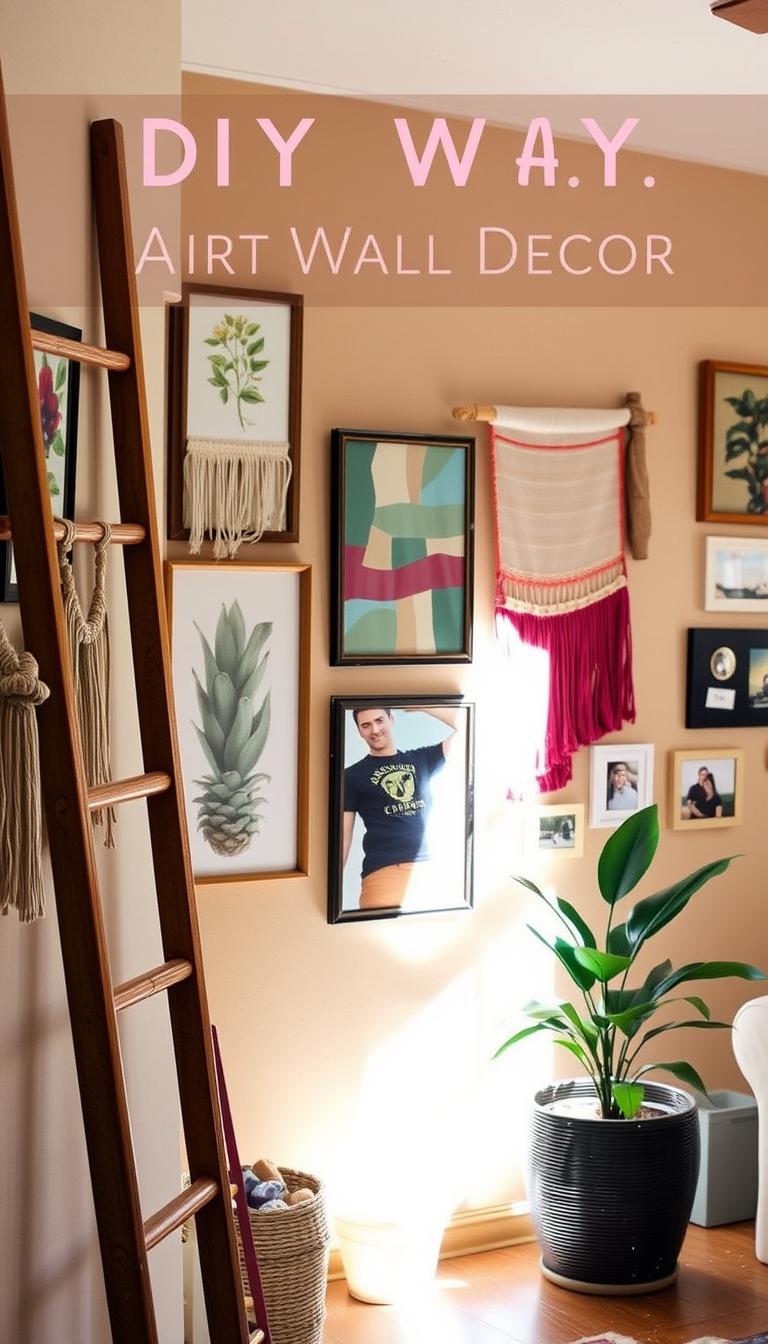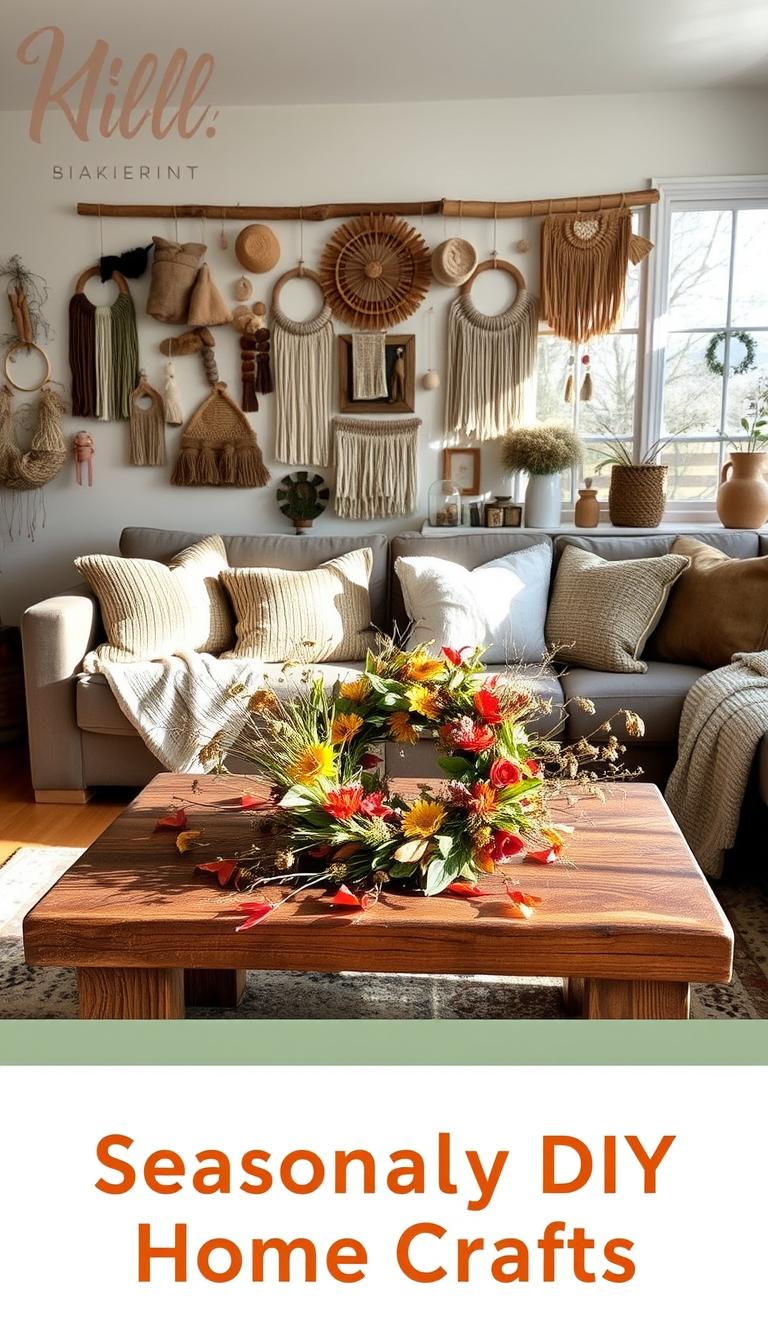
Ready to lift your space with simple, budget-friendly projects? This quick introduction shows how everyday items and a few reliable supplies can be turned into stylish handmade decorations in 30 minutes or less.
Think mason jars transformed into desk organizers or lace-covered votives, fabric scraps turned into no-sew coasters, and glass vases filled with LED fairy lights for instant ambience. Sources like The House That Lars Built and Good Housekeeping show that mason jars, Mod Podge decoupage, and a spray sealer can make easy diy home projects look polished and last longer.
These crafting ideas favor recycled materials, beginner-friendly techniques, and tools you likely already have: painter’s tape, adhesive rope, and a small can of spray sealer or primer. Each project below includes a short shopping list and numbered DIY project steps so you can finish a piece and display it the same day.
Key Takeaways
- Use everyday household items and recycled jars to save time and money.
- Simple finishes like spray sealer or heat-set fabric paint extend project life.
- Keep a basic craft stash—Mod Podge, rope, and adhesive make many projects fast.
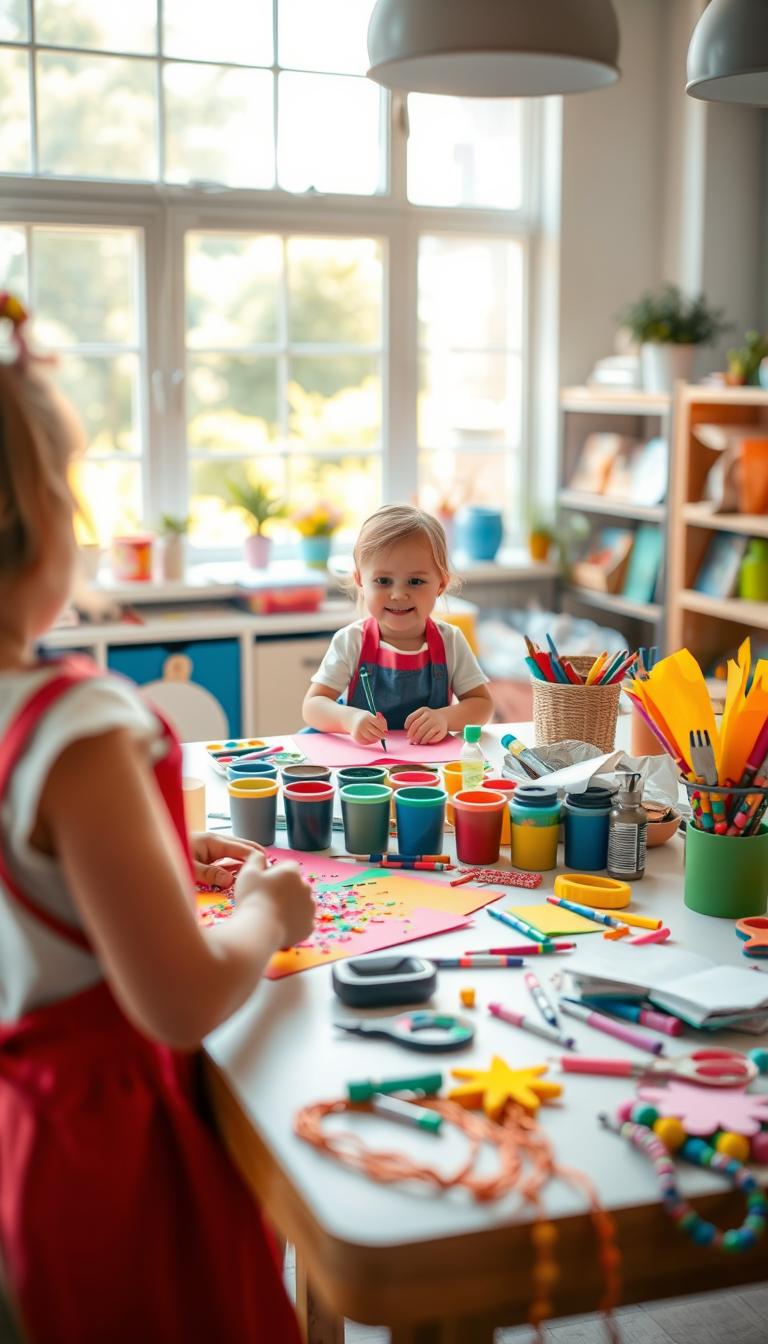
- Choose projects that match your skill level; many are great for beginners and kids.
- Minor updates—painting, wrapping, or adding lights—create big style quickly.
DIY Mason Jar Candle Holders

Mason jars turn ordinary glass into warm, inviting decor in minutes. These quick diy projects fit small budgets and make lovely homemade gifts for friends, teachers, or hosts. Use supplies from your craft stash to create charming mason jar candle holders that suit any room.
Quick, cozy glass decor using jars and lights
Materials are flexible and straightforward. Gather mason jars, battery-operated tealights or LED fairy lights, Mod Podge or craft glue, lace or wrapping paper, scissors, and a hot glue gun if you like. Fine-grit sandpaper gives a frosted finish when you want a muted glow.
- Clean and dry the mason jar thoroughly.
- Optional: Sand or apply etching product for a frosted look; let dry per directions.
- Cut lace or wrapping paper to size. Brush a thin layer of Mod Podge where the material will go.
- Smooth the material onto the jar and seal with another coat of Mod Podge. Let dry 10–15 minutes.
- Place a battery, a tealight, or a small coil of LED fairy lights inside the jar.
- If needed, secure the lights’ battery pack to the jar base with a dab of hot glue.
- Display on a mantel, shelf, or group several as a centerpiece.
Try variations for different moods. Use tissue paper for stained-glass effects or lace for vintage charm. For a modern touch, paint the inside with chalky pastel paints. Turn larger canning jars into pendant lights by cutting a hole in the lid and fitting a battery socket or plug-in lamp for a mini pendant concept tied to candle-holder styling.
These creative home crafts are perfect for last-minute celebrations and quiet nights in. They rank high among easy home crafts anyone can try, offering a satisfying mix of style and function. Make a few as homemade gifts; recipients will appreciate the personal touch and soft glow of each jar.
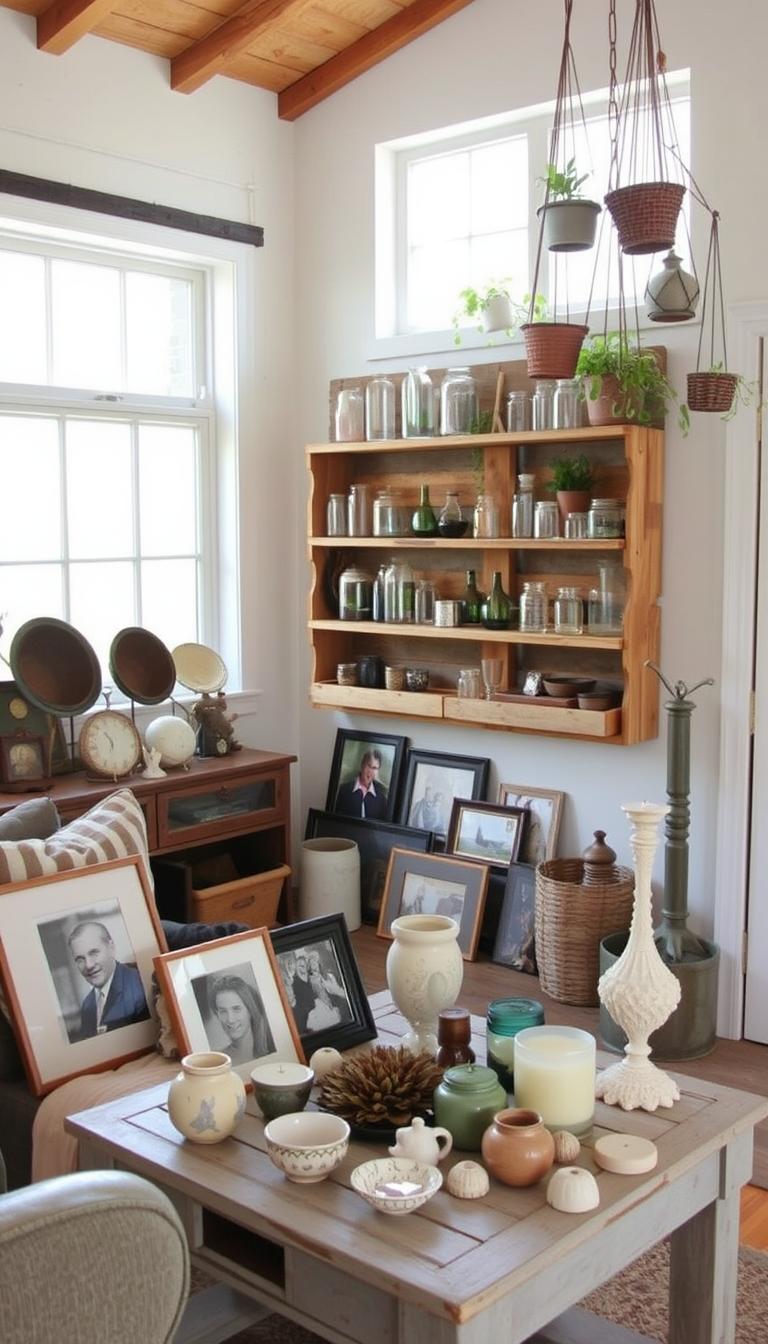
Pressed Flower Picture Frames

Turn small bouquets into lasting wall art with a simple, satisfying craft. Pressed flower picture frames make thoughtful gifts and charming accents for entryways, bedrooms, or a gallery wall. This project fits into a short afternoon and pairs well with other home decor crafts.
- Fresh flowers to press or pre-pressed floral packs
- Heavy books or a flower press and sheets of wax paper
- Picture frame with glass and plain cardstock backing
- Acid-free glue or Mod Podge and a pair of tweezers
Follow these crafting ideas to create neat, museum-ready pieces. Use pre-pressed flowers for fast results. For a softer, fabric option, try flower pounding onto linen with wax paper as a barrier and then frame the fabric for a textured look.
Preserve blooms and make personalized wall art.
- To press fresh flowers, sandwich blooms between wax paper and place inside a heavy book for 1–2 weeks or use a flower press. Use pre-pressed flowers for quick projects.
- Clean the frame glass and lay it flat on a protected surface.
- Arrange pressed flowers on glass or cardstock to test the composition. Keep pieces simple for a clean, modern feel.
- Apply small dots of acid-free glue to the back of each flower. Use tweezers to place them precisely onto the glass or backing.
- Let the glue dry for 10–20 minutes, making sure the petals remain flat.
- Reassemble the frame with the flower-adorned glass and backing.
- Hang or lean the finished frame out of direct sunlight to slow fading.
These handmade decorations pair nicely with minimalist frames, driftwood shelves, or brass hanging systems. Try grouping three small frames for a cohesive display. The mix of pressed petals and clean lines elevates basic home decor crafts into a polished, personal statement.
Rope-Wrapped Plant Pots

Update plain planters with a natural texture that fits modern interiors. This quick project turns inexpensive terra-cotta or plastic pots into stylish accents. It works well for tiered displays when you stack flat-bottomed vases or group mixed sizes for a cohesive look.
Materials:
- Terra-cotta or plastic plant pot
- Natural jute rope or sisal rope
- Hot glue gun and glue sticks
- Scissors
- Optional: exterior paint and painter’s tape for color blocking
Natural texture for indoor greenery
Start by cleaning the pot and letting it dry. For a two-tone finish, mask an area with painter’s tape and paint the bottom. Let the paint dry thoroughly before wrapping.
- Plug in the hot glue gun and apply a small bead of glue near the rim.
- Press the rope end into the glue and hold for a few seconds.
- Wrap the rope tightly around the pot, adding small lines of glue as you go to keep rows secure.
- When you reach the bottom, cut the rope, tuck the end under the last row, and secure it with a dab of glue.
- Place a potted plant inside or use the pot as a decorative planter.
This project sits squarely among easy diy home projects and home crafts that need few tools. Many home decor crafts follow the same hot-glue-and-household-items approach, which makes rope-wrapped plant pots an ideal weekend craft.
Try color-blocking with exterior latex paint before wrapping for a modern twist. Use neutral rope for a coastal vibe or dyed jute for bolder accents. These simple steps create charming, affordable planters that elevate indoor greenery and tie living spaces together.
Minimalist Bead Garlands

Small changes lift a room. Simple strands of beads bring a Scandi touch to shelves, mantels, and jars. These minimalist bead garlands are budget-friendly and fast to make, perfect for anyone who enjoys creative home crafts and quick updates.
Scandi-inspired strands for shelves and mantels
Use wooden beads, cotton cord, and a bit of paint to craft clean, modern accents. This project suits beginners and experienced crafters who want handmade decorations that match a neutral palette. Try staining beads for warmth or painting them in a muted color scheme.
Below is a short shopping list to get started. Each item is easy to find at Michaels, Joann, or Amazon.
- Wooden beads (various sizes)
- Cotton cord or jute twine
- Acrylic paint or wood stain (optional)
- Paintbrush and a paper plate for paint
- Scissors
- Ruler
Follow these simple steps to make a garland in under 30 minutes. These crafting ideas keep the process clear and fun.
- Paint beads in desired colors and patterns; let dry. Use quick-dry craft paint for speed.
- Measure and cut a length of cord to fit your shelf or mantel, adding extra for knots.
- Tie a small knot at one end to prevent the beads from slipping off.
- String beads onto the cord in your chosen sequence; experiment with spacing and groupings.
- Tie a secure knot at the end and trim excess cord.
- Arrange the garland on a shelf, drape it over a jar, or loop it on a candle holder for visual interest.
Personalize by mixing bead sizes or adding small painted wooden shapes. Think of rainbow bangles, stamped pieces, or tiny painted tokens as inspiration. These handmade decorations double as gifts and keepsakes.
For more variety, swap the cord for twine, add tassels, or use recycled wood pieces. One small garland can change the mood of a whole shelf. Try a few colors and placements to see what fits your home best.
Fabric Scrap Coasters

Turn leftover scarves, thrifted shirts, or tiny fabric remnants into quick table accents that protect surfaces and delight guests. These fabric scrap coasters are perfect for crafters who want fast results at a low cost. The method suits beginners and fits into a list of easy diy home projects you can finish between errands.
What you need:
- Fabric scraps, an old scarf, or thrifted cotton
- Cork coaster blanks or thick cardboard circles
- Mod Podge (fabric or regular) or decoupage medium
- Scissors
- Foam brush
- Clear acrylic sealer (optional)
No-sew coasters from scarves, shirts, or fabric remnants
This easy craft follows a few tidy steps. Cut the fabric a half inch larger than the coaster blank. Brush Mod Podge on the top, smooth the fabric, and fold the edges under the coaster. Trim any excess carefully.
Apply a top coat of Mod Podge and let it dry for 10–15 minutes. For extra durability, spray a clear acrylic sealer and let it cure as recommended by the product. Use the finished pieces at home or wrap a set as thoughtful homemade gifts.
Step-by-step quick guide:
- Cut fabric with about 1/2″ overlap around the coaster blank.
- Brush Mod Podge onto the coaster top.
- Smooth fabric onto the coaster, pressing out wrinkles.
- Fold and glue fabric edges to the underside; trim excess.
- Apply a top coat of Mod Podge over the fabric; let dry 10–15 minutes.
- Optional: Spray with clear acrylic sealer for extra water resistance; let cure.
- Use as coasters or as a gift in a small set.
These craft tutorials use household supplies and offer a vintage or modern look, depending on the fabric choice. Try mixing patterned scarves with plain cork for contrast. This project ranks high among easy diy home projects for speed, low waste, and giftability.
Painted Wooden Signs

Turn thrift-store finds or simple blanks into chic accents with painted wooden signs that fit any room. These easy diy home projects mix fast painting, stenciling, and stamping to create pieces that look high-end with little time or expense.
Gather basic supplies for many home decor crafts: a small wooden sign blank or reclaimed wood piece, acrylic paint in sample sizes, flat and round brushes, stencils or alphabet stickers, fine-grit sandpaper, and a clear sealer. Sample paints dry quickly, which keeps these crafting ideas under 30 minutes.
Custom sayings and modern stamped canvas techniques
Sand the wood smooth and wipe away dust. Paint a base color and let it dry fully; sample-size, quick-dry acrylics take about 5–10 minutes. Position your stencil or stickers where the wording or design should sit.
- Using a dry brush or foam pouncer, apply a contrasting paint over the stencil for crisp letters.
- Remove the stencil or stickers carefully; touch up edges with a small round brush.
- Seal the sign with spray or brush-on clear sealer and let it cure before handling.
Try modern stamped-canvas methods on wood with clean screen-printing ink or a stamp roller for bold textures. These tools translate well from fabric to wood and produce professional-looking results for more advanced home decor crafts.
Mix painted blocks, papier-mache bowls, or thrifted trim into a vignette to give your sign a curated feel. These easy diy home projects make great gifts and add a personal touch to mantels and entryways.
Twine-Wrapped Vases

Give plain glass a warm, rustic lift with a quick twine wrap. This low-cost technique turns jars and bottles into charming accents for mantels, shelves, or tabletops. It pairs well with dried stems, fairy lights, or a small bouquet for instant cozy style.
Shopping list
- Glass vase or jar
- Natural twine or jute
- Hot glue gun and glue sticks
- Scissors
- Optional: decorative beads or ribbon
Quick steps
- Clean and dry the vase.
- Start at the base or rim, affix the twine end with a small dab of hot glue.
- Wrap the twine tightly around the vase, adding hot glue at intervals to secure crisp lines.
- Continue wrapping to the desired coverage, trim the twine, and glue the end in place.
- Add decorative elements, such as a ribbon bow or a few beads, with glue.
- Fill with flowers, greenery, or a battery-operated candle insert.
Twine-wrapped vases make easy, handmade decorations that blend with many styles. Use Mod Podge and tissue paper on another jar for mixed textures, or match a set of twine-wrapped pieces for cohesive home decor crafts.
These creative home crafts work for gift-making, party tables, or simple shelf styling. Try alternating tight and loose wraps for pattern, or leave a small glass window to show water level when you add fresh stems.
Vintage-Style Book Page Art

Turn old maps, sheet music, or torn book pages into warm, framed art that fits any room. This project is ideal for quick weekend sessions and makes thoughtful homemade gifts for friends who love books or travel. Use simple supplies to get a layered, aged look that reads handmade and high-end.
Upcycled paper decor with map or book pages
Gather old book pages, maps, or sheet music, foam-core or canvas, rubber cement or Mod Podge, a craft knife, ruler, and an optional frame. These materials support a range of techniques from papier-mache petals to packing-tape transfers. Try Mod Podge collage methods to smooth pages onto wood or canvas for a sealed finish.
- Select book pages or map sections, and plan your layout on foam core or canvas.
- Trim pages as needed with a craft knife and ruler.
- Apply rubber cement to the back of the page and to the mounting surface; let both dry slightly, then press together to dry-mount.
- Repeat until the surface is covered or the composition is complete.
- Add a printed word or phrase on watercolor paper if desired; glue in place.
- Frame the finished piece or hang unframed for a casual vintage look.
For visual interest, layer type over maps or add paper flower toppers for subtle depth. Dry-mounting to foam-core with rubber cement keeps pieces flat and archival, a tip used in map art and framed map techniques. Small collage borders and aged edges make each piece feel unique.
This kind of work often appears in home crafts guides and craft tutorials because it is affordable and adaptable. Beginners can follow step-by-step instructions, while experienced crafters can experiment with transfers, stamping, or light distressing to match a room’s palette.
Wrap finished frames as cozy homemade gifts for birthdays, housewarmings, or teacher appreciation. A short note about the original map or book adds sentimental value and turns a simple paper craft into a cherished keepsake.
Air-Dry Clay Trinket Dishes

Make a quick, natural catchall with simple tools and a few minutes of hands-on work. These air-dry clay trinket dishes bring texture from real leaves and tiny found objects into a functional piece of decor. They fit neatly among easy DIY home projects and make thoughtful homemade gifts.
Why try this: The imprint of a leaf or lace gives each dish a one-of-a-kind look. You can personalize with initials, paint, or a light wash of color to turn small tokens into memorable handmade decorations.
Materials:
- Air-dry clay
- Rolling pin
- Small shallow bowl for shaping
- Leaves or textured objects for imprinting
- Acrylic paint (optional) and sealant
- Wonderful sandpaper
Simple steps:
- Roll a golf–ball–sized piece of clay into a flat disk about 1/4″ thick.
- Place a leaf or a textured object on the clay, then roll it gently with a rolling pin to make an imprint.
- Remove the leaf and refine the edge of the clay disk.
- Press the disk into a shallow bowl to form a shallow dish; smooth the seams.
- Let air-dry per manufacturer instructions, usually 24 hours.
- Lightly sand rough spots and paint or seal if desired; allow to cure completely.
- Use as a jewelry
MyHomeStyleBlog.com is a participant in the Amazon Services LLC Associates Program, an affiliate advertising program designed to provide a means for sites to earn advertising fees by advertising and linking to Amazon.com. As an Amazon Associate, I earn from qualifying purchases.
dish, key bowl, or small decorative tray.
These projects work well for craft nights or as last-minute homemade gifts. A light coat of acrylic sealer protects the piece for everyday use. Personal touches like initials or a tiny painted edge lift plain shapes into cherished handmade decorations.
Mini Macrame Wall Hangings
Tiny fiber art adds instant warmth to a shelf, entryway, or gallery wall. Mini macrame wall hangings are one of the simplest creative home crafts you can make with basic supplies like cotton cord, a small dowel or branch, scissors, and a comb. These projects borrow techniques from stitched purses and yarn MyHomeStyleBlog.com is a participant in the Amazon Services LLC Associates Program, an affiliate advertising program designed to provide a means for sites to earn advertising fees by advertising and linking to Amazon.com. As an Amazon Associate, I earn from qualifying purchases.
Tiny boho art for small spaces
Gather cotton cord (3–5 mm), a small wooden dowel, and a ruler. Cut six to ten lengths of cord two to three times the finished length, fold each in half, and attach with lark’s head knots. Use square knots or half-hitch knots to build a repeating pattern; stop when you reach your target length. Trim the base to a straight edge or V-shape, comb out the fringe if you like, and add a short cord to the dowel for hanging.
These crafting ideas are budget-friendly and require minimal tools, making them ideal home decor crafts for renters or makers short on time. Mini macrame wall hangings pair well with small prints, potted plants, or open shelving and are a fast way to add texture and a handmade touch to any room.