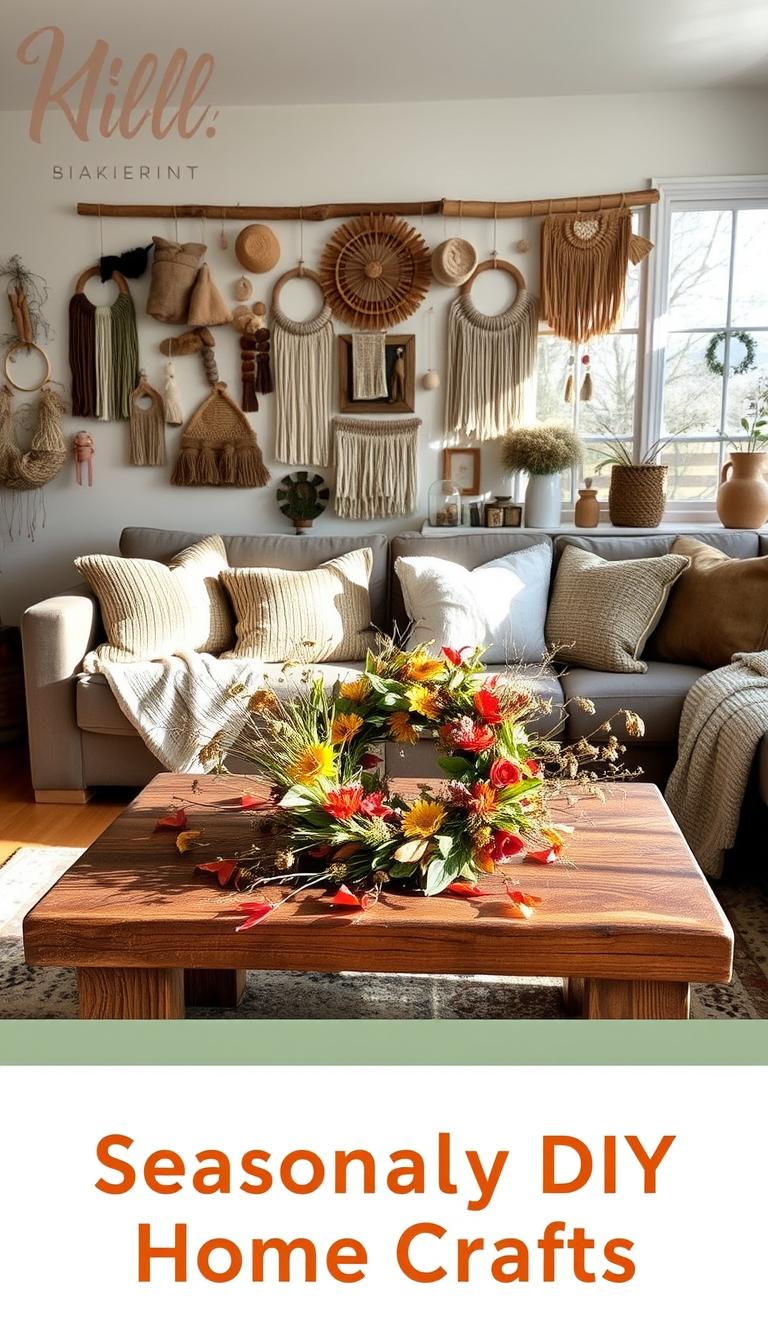
Transforming your living space doesn’t require a lot of time or effort. Home crafts are a fantastic way to add a personal touch to your decor while exploring your creative side. In this guide, we’ll share 10 easy DIY home projects that are not only quick to complete but also provide delightful crafting ideas. From charming mason jar candle holders to stylish mini macrame wall hangings, each project can be completed in under 30 minutes. Whether you’re a beginner or a seasoned crafter, these homemade gifts will inspire you to create beautiful accents for your home.
Key Takeaways
- Quick and easy home crafts perfect for beginners.
- All projects can be completed in under 30 minutes.
- Simple crafting ideas to personalize your decor.
- Great homemade gifts that showcase your creativity.
- Accessible materials for every DIY project.
DIY Mason Jar Candle Holders

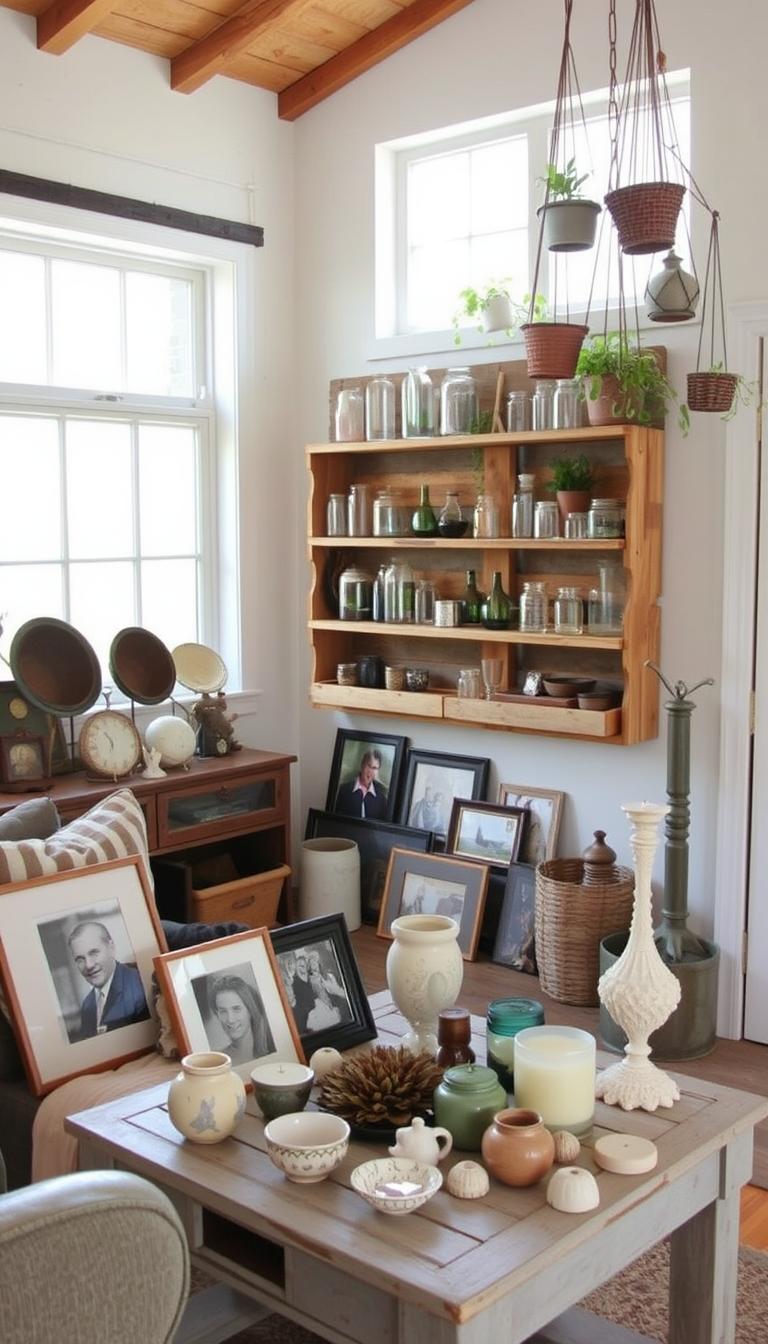
Mason jar candle holders serve as a charming addition to any home decor. These versatile holders can transform simple jars into stunning handmade decorations by applying creativity. With a few basic materials, you can elevate the ambiance of your space, making it ideal for gatherings or quiet evenings.
Creating mason jar candle holders is a simple DIY home project. You can adorn the jars with items like twine, lace, or paint, each offering a unique aesthetic. Choose candles that fit comfortably inside the jars, allowing the light to shine through beautifully. Feel free to experiment with decorative elements for various occasions, ensuring they match your personal style.
Embrace the joy of creating personalized decorations that reflect your taste and warmth. Each mason jar candle holder becomes a piece of art, showcasing your creativity while providing a cozy lighting option. Take advantage of this simple craft to add a touch of elegance to any corner of your home.
Pressed Flower Picture Frames

Pressed flower picture frames provide a beautiful way to bring nature indoors. By carefully selecting flowers and leaves from your garden or local area, you can create personalized and stunning compositions that showcase the fragility and beauty of the natural world. This crafting idea offers an artistic outlet while allowing you to preserve seasonal blooms for years to come.
To get started with these pressed flower crafts, gather your materials. Flowers like pansies, daisies, and ferns work well due to their vibrant colors and delicate, yet elegant, shapes. First, you will need to press your flowers. Arrange them between sheets of parchment paper and place them in a heavy book for several days. Once dried, they can be arranged in frames to create enchanting wall art.
These frames not only enhance your home decor crafts but also serve as thoughtful homemade gifts for friends and family on special occasions. Display your creations on shelves, desks, or walls, breathing life into any space while showcasing your personal touch. Pressed flower picture frames are an excellent way to express creativity and share the beauty of nature with loved ones.
Rope-Wrapped Plant Pots

Transform your plain plant pots into stunning pieces of decor with an effortless rope-wrapping technique. This engaging approach to plant pot crafts not only enhances aesthetics but also adds a cozy, rustic touch to your indoor garden. Gather a few essential materials and get started on these easy DIY home projects.
- Basic flower pots
- Jute or cotton rope
- Hot glue gun and glue sticks
- Scissors
Begin by applying a thin layer of glue at the base of the pot. Firmly press one end of your rope into the glue, ensuring it adheres well. Gradually wrap the rope around the pot, adding glue as needed. Keep your layers close together to maintain a smooth appearance. Finish by cutting the rope and securing it with a final dab of glue for a polished look.
This simple technique not only enhances the visual appeal of your plants but also creates a warm and inviting atmosphere in your space. Engage your creativity by experimenting with different colors and types of rope to further personalize your handmade decorations.
Minimalist Bead Garlands

Creating minimalist bead garlands is a delightful way to add personal flair to your home decor. This simple craft utilizes just a few materials—beads and string—making it accessible for anyone interested in home crafts.
To get started, gather a variety of beads that complement your color scheme. Consider using neutral tones for an understated look or vibrant colors to make a bold statement. Here are some quick crafting ideas to inspire your project:
- Select a range of bead sizes and shapes for added interest.
- Experiment with different strings, such as twine or ribbon, to change the overall vibe.
- Use your bead garlands for a variety of occasions, from seasonal celebrations to everyday decor.
Once you have your materials, simply string the beads onto your chosen length of string, spacing them according to your preference. This process allows for creativity, enabling you to decide whether you want a symmetrical pattern or a more random arrangement. With just a little time and effort, you can create stylish bead garlands that reflect your personal style and enhance your surroundings.
Fabric Scrap Coasters

Creating fabric coasters offers a fun opportunity to transform leftover fabric into practical home decor crafts. This project is not only simple but also allows you to add a personal touch to your table settings. With a few basic materials, you can craft unique coasters that reflect your style.
Follow these steps for an easy DIY home project:
- Gather fabric scraps in a variety of colors and patterns.
- Cut the fabric into squares or circles of your desired size.
- Use fabric glue or double-sided tape to adhere the pieces together, if desired.
- Coat the top surface with a clear sealant to protect it from moisture.
These fabric coasters not only add vibrancy to your living space but also make for thoughtful, handmade gifts for your loved ones. Enjoy the process and let your creativity shine!
Painted Wooden Signs

Creating painted signs adds a splash of personality and charm to your home. These projects are not just decorative; they can convey messages that resonate with your family and guests. Start by selecting a piece of wood that speaks to you, whether it’s reclaimed lumber or a smooth, new plank.
Once you have your wood ready, brainstorm some crafting ideas. Think about mottos, phrases, or labels that reflect your style. Keep it simple for beginners—words with a strong emotional connection tend to resonate well. After deciding on your design, gather your supplies: paint, brushes, and stencils if needed.
To achieve that perfect look, apply several thin coats of paint rather than one thick layer. This technique ensures smoother coverage and vibrant colors. Explore various color combinations that complement your decor. Transform these wooden beauties into homemade decorations for your living space or as charming gifts for friends.
Remember, the process is all about having fun and letting your creativity flow. Enjoy creating your unique, hand-painted signs that genuinely reflect who you are!
Twine-Wrapped Vases

Twine-wrapped vases add a delightful touch of rustic charm to any space. Transform ordinary glass vases into stunning decor pieces with just a few simple materials. By using twine and glue, you can elevate your home crafts to a new level of aesthetics.
To begin your easy DIY home projects, gather some glass vases, twine, and your favorite adhesive. Start wrapping the twine around the vase, ensuring the layers are close together for a uniform appearance. This technique not only enhances the visual appeal but also adds texture to the design.
Once finished, these twine vases can serve multiple purposes. Use them to display fresh flowers or even as standalone decoration pieces on shelves or tables. Experiment with different twine colors or patterns, allowing your creativity to shine through in these charming home crafts.
Vintage-Style Book Page Art

Creating vintage-style book page art is an exciting way to infuse your home with charm while recycling old books. This art form allows you to transform pages from beloved novels into eye-catching handmade decorations that elevate your interior design. The first step involves selecting the right book, preferably one with captivating imagery or text that resonates with you.
Once you have your pages, think about the themes you want to explore. Consider using lifting quotes, illustrations, or even entire passages to create unique collages. This approach adds a personal touch to your home decor crafts. Arranging the pages in various layouts can help you visualize how the final piece will look.
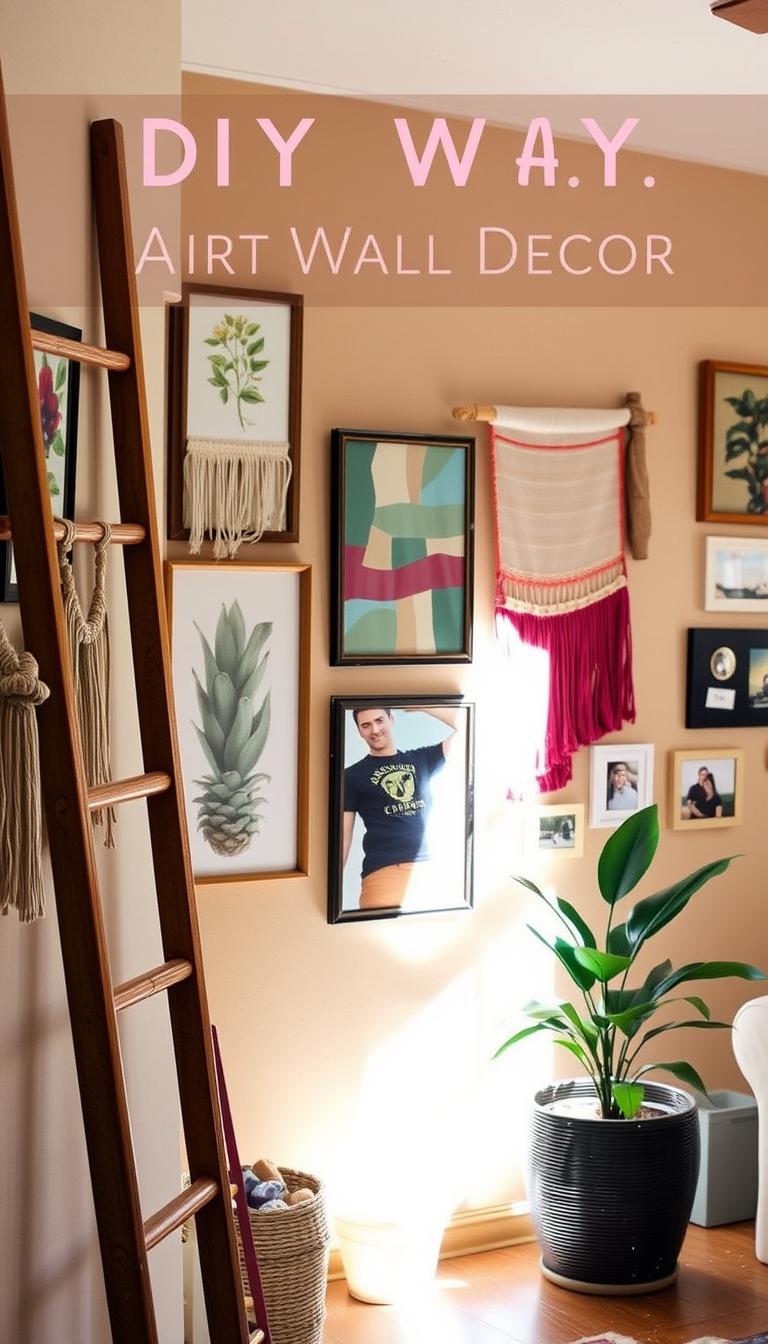
When framing your art, choose styles that complement your decor. Simple frames can highlight the rustic quality of the book pages, while ornate ones can add a touch of elegance. Whether you opt for a large gallery wall display or a single framed piece, your vintage-style book page art will undoubtedly spark conversations and draw admiration.
Air-Dry Clay Trinket Dishes

Crafting clay dishes can be an enjoyable experience, especially when you can create something both practical and beautiful. Air-dry clay trinket dishes serve as the perfect solution for organizing small items, such as keys, jewelry MyHomeStyleBlog.com is a participant in the Amazon Services LLC Associates Program, an affiliate advertising program designed to provide a means for sites to earn advertising fees by advertising and linking to Amazon.com. As an Amazon Associate, I earn from qualifying purchases.
The beauty of these clay dishes lies in their versatility. You can mold them into various shapes and sizes, letting your imagination run wild. Once shaped, decorating the dishes can be a fun part of the process, ensuring they reflect your style. Follow simple instructions to craft these charming dishes that are not only functional but also enhance your decor.
Begin by gathering your materials, which typically include air-dry clay, tools for shaping, and paint for decoration. These crafting ideas can be easily adapted for personal use or as gifts. Creating air-dry clay trinket dishes combines functionality with creativity, making it an excellent choice for DIY enthusiasts of any skill level.
Mini Macrame Wall Hangings
Embrace the world of macrame crafts with mini wall hangings that effortlessly elevate your home decor. Using simple knotting techniques, this craft is ideal for beginners new to the art of macrame. Whether you want to add some boho flair to your living room or a personal touch to your bedroom, these mini pieces are charming additions that reflect creativity and style.
To get started, gather some cotton rope, scissors, and a wooden dowel. The beauty of these easy DIY home projects lies in their affordability and accessibility. You can create various designs by mastering just a few knot styles, like the square knot or lark’s head knot. Experimenting with different patterns allows you to personalize your art and set the tone for your interiors.
Once you finish your mini macrame wall hanging, you’ll not only have a unique decor piece to showcase, but you’ll also gain a deeper appreciation for your craftsmanship. Additionally, this project offers a wonderful opportunity to relax and unwind while tapping into your artistic side. Dive into the vibrant world of home decor crafts and get crafting today!